HUB 06
Paint Prep & Decontamination
The unglamorous step that decides whether your polisher corrects paint or just drags grit across it.
We earn a commission when you buy through our Amazon links, at no extra cost to you. It never affects our rankings, and we say so when the cheaper product is the better buy. How this works.
Every guide about machine polishing starts with the polisher. That is the wrong place to start. The step that actually decides whether a correction goes well is the one before it: getting the paint genuinely clean of everything a wash mitt cannot lift. Skip it, and the best rubbing compound on the market is just a delivery system for dragging hard grit across your clear coat.
Why decontamination has to happen before polishing
Paint defects come in two families, and they need two different tools. Swirls, scratches and oxidation are below-surface defects — the clear coat itself has been abraded or dulled, and the only fix is a compound or polish that levels the surface with a pad and a machine. Bonded contamination is different. Rail dust, brake dust, industrial fallout, tree sap and overspray sit on top of the clear coat, fused to it, and a compound will not dissolve them — it will just grind them into the paint like sandpaper. That is why decon is a separate step with separate tools: a clay bar or clay mitt for anything mechanically bonded, and a chemical iron remover for the metallic fallout that clay alone struggles to fully lift.
The feel test: do you actually need to clay?
You do not need to guess. Wash and dry the car, then slide a plastic sandwich baggie over your fingers and run it lightly across a door panel or the roof. Smooth paint feels like glass through the baggie. If it feels gritty, sandy or like fine sandpaper, that texture is bonded contamination sitting proud of the clear coat — and it will still be there under a coat of wax or sealant, because wax fills nothing structural. The baggie test is the whole diagnostic: no texture, no decon needed; any texture, clay before you touch a polisher.
The order: wash, iron remover, clay, then correct
Contamination removal has a sequence, and doing it out of order wastes product and adds risk. Wash the car first so you are not clay-ing loose dirt into the paint. Next, apply an iron remover — spray it on cool, shaded paint and wheels and let it react (most brands bleed a visible purple as they dissolve embedded iron), then rinse thoroughly. Only after that do you clay, working a well-lubricated bar or mitt in straight lines with plenty of quick detailer as lubricant, folding the clay to a clean face often. Clay is a mechanical abrasive against your paint, so it should be the last decon step, and correction (compound, polish, coating) is the step after that, on paint that is now actually clean underneath.
Chemical vs. mechanical decon — and when you need each
An iron remover is a chemical dissolver: it targets ferrous metal particles — brake dust and rail fallout — that embed themselves in the clear coat and oxidize there, which is why they show up as those tiny orange specks on light-colored paint and on wheels. It cannot touch tree sap, overspray or general grime; that is a mechanical problem for clay. A clay bar or clay mitt is mechanical decon: dragged across lubricated paint, it physically shears off anything bonded and raised, iron included, which is why a lot of detailers use both — iron remover first to dissolve what it can chemically, then clay to mechanically clear everything else, including whatever iron survived the chemical pass. If your paint fails the baggie test but you'd rather not clay at all, our clay bar alternatives guide walks through the synthetic-lubricant and clay-towel options that do the same job with less risk of marring.
The common mistake: skipping decon and polishing over grit
The single most common way a DIY correction goes wrong isn't a bad compound choice — it's skipping decon entirely and going straight from wash to polisher. Bonded contamination under a foam pad gets trapped and dragged, and a pad spinning at speed turns every embedded particle into a tiny scouring tool, adding fresh fine scratches across the exact panel you're trying to fix. Worse, it happens invisibly mid-polish, so you often don't notice until the paint is dry and the new marring shows up in direct sun. The fix costs nothing but time: wash, iron remover, clay, feel-test again, and only then reach for a compound. Start with our best clay bar picks or, if brake dust and rail fallout are the main issue, our best iron remover picks. Not sure the step is needed at all? The two-minute bag test settles it, and wheels get their own answer in our wheel iron remover picks.
The prep step that comes last, not first
Decontamination happens before you polish. There is a second, entirely different prep step that happens after polishing and only matters if a coating is going on: the panel wipe. Every polish and compound leaves oils behind, and a ceramic coating applied over those oils bonds to them rather than to your clear coat — which is the single most common reason a coating that looked perfect on Sunday stops beading by spring. A dedicated panel wipe strips them and flashes off clean; our panel wipe picks cover the field. And two of the products this hub recommends most often get full assessments of their own: the Mothers clay bar system and CarPro IronX.
The steps either side of decontamination
Decontamination sits between two jobs that matter just as much. Before it comes the wash, which is where almost every swirl on a car is installed — a pH-neutral, coating-safe shampoo and a two-bucket method are the whole defense, and the field is ranked in best car wash soap for detailing. The soap is only half of that decision: what you hold in your hand decides whether the grit it lifts travels away from the clear coat or along it, which is the argument in best car wash mitt. Alongside both sits the detail spray that lubricates your clay, aids drying and clears polish residue between steps — best detail spray. And after the rinse comes the step with the most at stake of all, which is drying — best car drying towel.
And underpinning all of it: you cannot correct a defect you cannot see. Overhead garage lighting hides swirls almost completely, which is why so many first corrections look perfect indoors and disappointing in daylight. A focused inspection light fixes that for very little money — best detailing light for paint correction.
Mineral deposits: the contamination that turns into damage
Iron fallout and bonded road film both sit on top of the clear coat, which is why decontamination removes them without touching the paint. Water spots are the exception that proves the rule. Left long enough on a hot panel, the calcium and magnesium in an evaporating droplet become concentrated enough to etch into the clear coat, at which point no amount of chemical decontamination or clay will bring the surface back — only levelling will. How to remove water spots from car paint has the ten-second test that tells you which of those two problems you have, and the escalation ladder for each.
Bonded contamination is not only iron and industrial fallout. Tree sap is the seasonal version, and it is the one that turns into clear-coat damage if it is left to harden — how to remove tree sap from car paint covers the escalation ladder, and the household fixes that take clear coat off along with the sap.
Start here
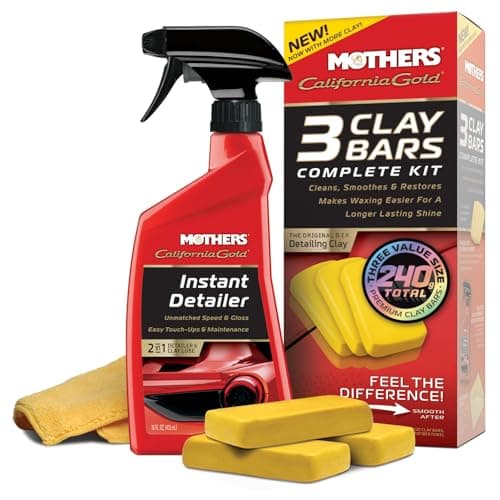
The Best Clay Bar for Your Car
Our picks for clay bars, clay kits and a clay mitt, from the safest first job to the fastest reusable option.
Read it →
Everything in this hub
All paint prep & decontamination
Roundup
The Best Clay Bar for Your Car
Our picks for clay bars, clay kits and a clay mitt, from the safest first job to the fastest reusable option.
Top pick: Mothers California Gold Clay Bar System
#ad · price as of October 20, 2026 · 5 products · 5 priced
Roundup
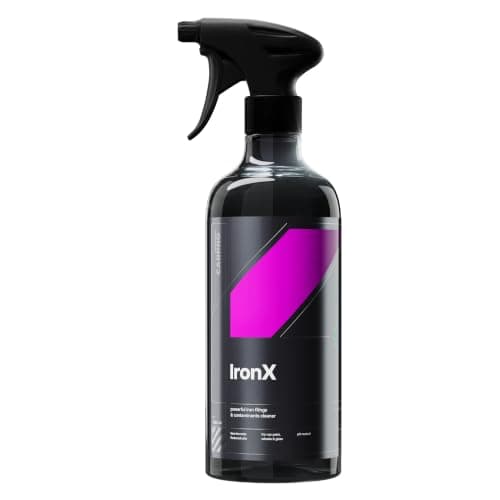
The Best Iron Remover for Your Car
Our picks for iron and fallout removers, from the category benchmark to a dual-purpose wheel-and-paint option.
Top pick: CarPro IronX Iron Remover
#ad · price as of October 20, 2026 · 4 products · 4 priced
Roundup
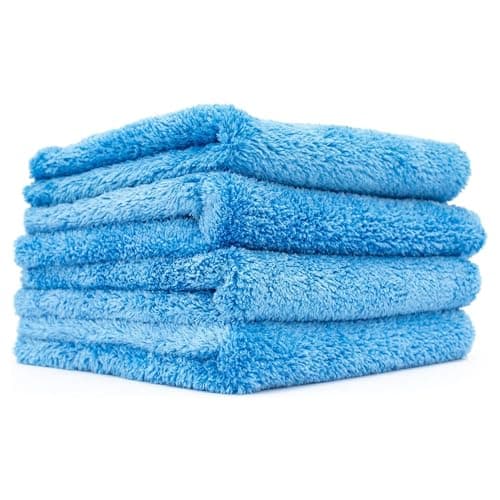
Best Microfiber Towels for Detailing
Five microfiber towels split by job — plush edgeless for paint, dedicated drying towels, and cheap packs for dirty work.
Top pick: The Rag Company Eagle Edgeless 500 Microfiber Towels
#ad · price as of October 20, 2026 · 5 products · 5 priced
Roundup
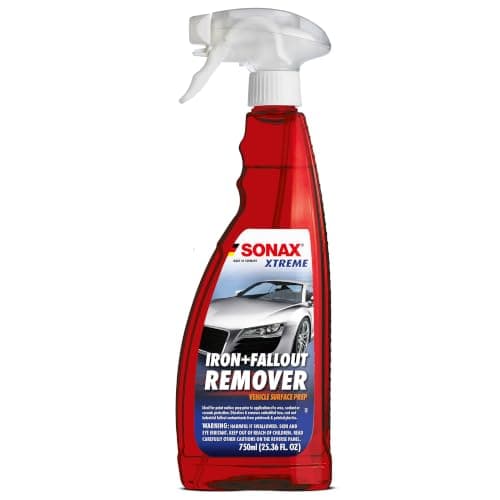
Best Iron Remover for Wheels
Five iron removers ranked for wheel use — bonded brake dust removal, finish safety and how tolerable the smell is.
Top pick: SONAX Iron + Fallout Remover
#ad · price as of October 20, 2026 · 5 products · 5 priced
Roundup
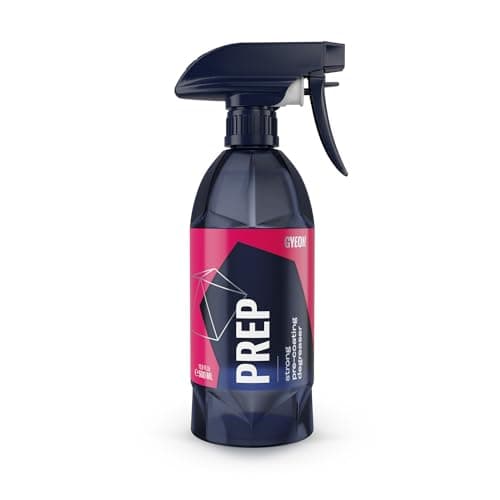
Best Panel Wipe for Ceramic Coating
Five coating-prep panel wipes ranked on oil removal and residue, from a single-install bottle to a coating stripper.
Top pick: GYEON Prep Paint Cleaner & Degreaser
#ad · price as of October 20, 2026 · 5 products · 5 priced
Review
Mothers California Gold Clay Bar System Review
What the Mothers clay kit includes, how forgiving its grade is, and when a mitt or towel is the better buy.
Top pick: Mothers California Gold Clay Bar System
#ad · price as of October 20, 2026 · 3 products · 3 priced
Review
CarPro IronX Review
What IronX's color change actually indicates, safe use on paint and wheels, and two cheaper alternatives.
Top pick: CarPro IronX Iron Remover
#ad · price as of October 20, 2026 · 3 products · 3 priced
Roundup
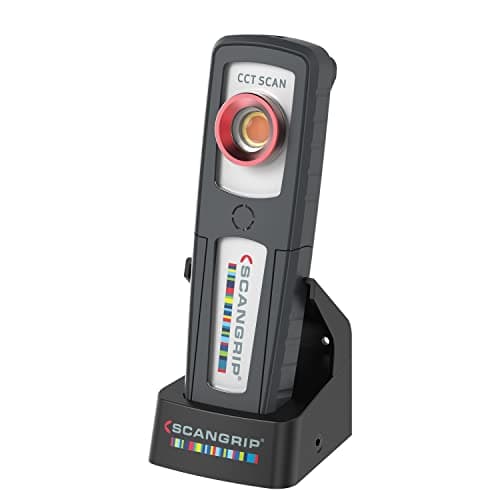
Best Detailing Light for Paint Correction
Four inspection lights ranked on CRI, switchable color temperature and beam shape, from a fourteen-dollar torch to a professional color-match tool.
Top pick: SCANGRIP SUNMATCH 4 Rechargeable Detailing Light
#ad · price as of October 20, 2026 · 4 products · 4 priced
Roundup
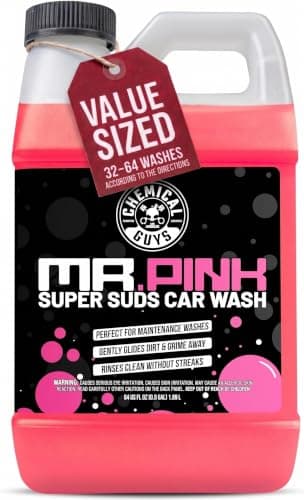
Best Car Wash Soap for Detailing
Four pH-neutral shampoos ranked on lubricity, foam and cost per wash, with the two-bucket method that makes any of them safe.
Top pick: Chemical Guys Mr. Pink Car Wash Soap (64 oz)
#ad · price as of October 20, 2026 · 4 products · 4 priced
Roundup
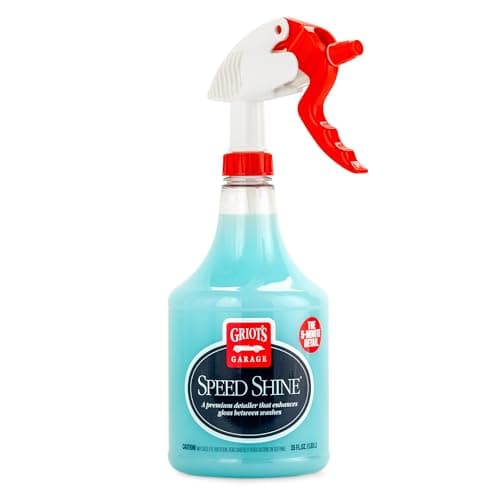
Best Detail Spray
Four quick detailers ranked on lubricity, gloss and streak resistance — and the one situation where using any of them installs scratches.
Top pick: Griot's Garage Speed Shine (35 oz)
#ad · price as of October 20, 2026 · 4 products · 4 priced
Buyer's guide
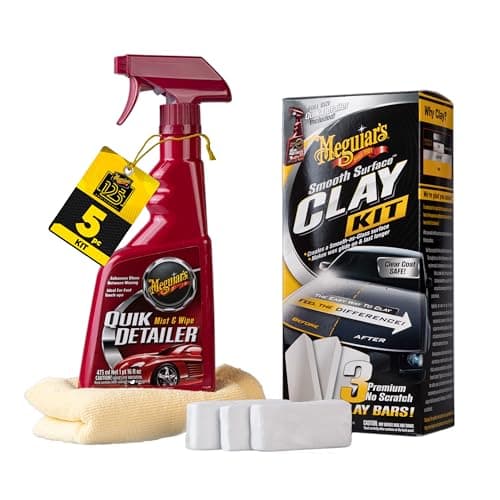
How to Remove Water Spots From Car Paint
Fresh mineral deposits versus etched clear coat: how to tell them apart, the escalation ladder from wipe to clay to polish, and how to stop the spots coming back.
Top pick: Meguiar's Smooth Surface Clay Kit
#ad · price as of October 20, 2026 · 4 products · 4 priced
Buyer's guide
How to Remove Tree Sap From Car Paint
The safe escalation for tree sap: soften it, dissolve it, clay the remainder, and polish only the etch it leaves behind — plus the household fixes that do real damage.
Top pick: Meguiar's Smooth Surface Clay Kit
#ad · price as of October 20, 2026 · 4 products · 4 priced
Head to head
Iron Remover vs Clay Bar
Chemical versus mechanical decontamination: what each removes, why iron remover always goes first, how to tell which your car needs, and when you can skip one.
Top pick: CarPro IronX Iron Remover
#ad · price as of October 20, 2026 · 4 products · 4 priced
Roundup
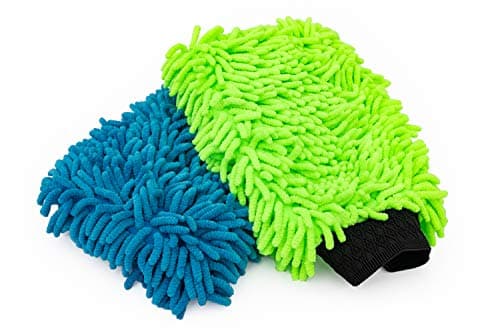
Best Car Wash Mitt
Six wash mitts ranked on grit release rather than softness — chenille, lambswool, foam-core and a cheap pack for wheels.
Top pick: The Rag Company Premium Chenille Knobby Wash Mitt (2-Pack)
#ad · price as of October 20, 2026 · 6 products · 6 priced
Roundup
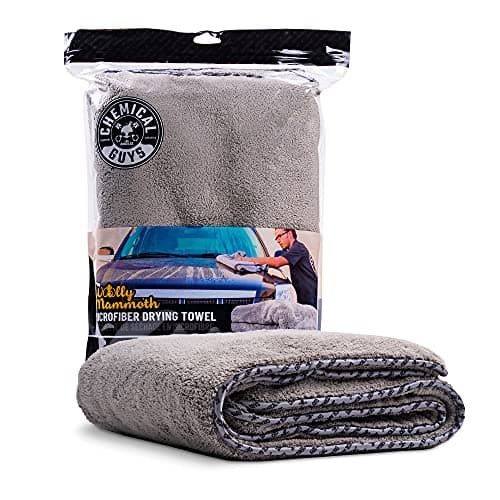
Best Car Drying Towel
Five towels ranked on water carried per pull and weave safety, from one sheet that dries a whole car to the cheap cloths that should never touch paint.
Top pick: Chemical Guys Woolly Mammoth Microfiber Drying Towel
#ad · price as of October 20, 2026 · 5 products · 5 priced
Buyer's guide
How Often Should You Clay Bar Your Car?
Clay on evidence, not on a calendar. The baggie test, what actually drives contamination rate, and why an iron remover should usually come first.
Top pick: Mothers California Gold Clay Bar System
#ad · price as of October 20, 2026 · 4 products · 4 priced