GUIDES
Guides to DIY Paint Correction
The orientation layer for this whole site: how decontaminating, correcting and protecting paint fit together, and which guide to read first.
We earn a commission when you buy through our Amazon links, at no extra cost to you. It never affects our rankings, and we say so when the cheaper product is the better buy. How this works.
If you have never machine-polished a car before, the amount of gear across this site can look like a shopping list for a body shop, not a Saturday project. It is not. Every product here maps to exactly one step in a workflow that home-garage enthusiasts have run for decades: get the surface honestly clean, correct the paint’s actual defects, then protect what you just corrected. Once you can see the workflow, the gear stops being confusing — you are just filling in one box per stage.
Stage one: decontaminate before you touch a pad
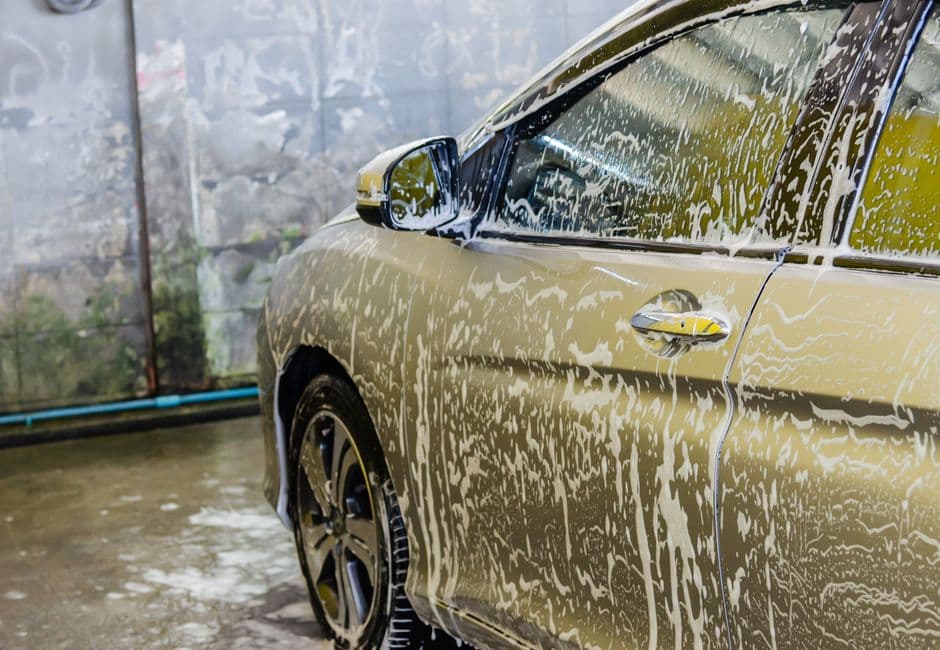
Paint that looks clean under a hose almost never is. Rail dust, brake dust, tree sap and old wax build up as bonded contamination you can feel, not see, by dragging a fingertip lightly over a washed, dry panel. If it feels like fine sandpaper, that texture will grind under a polishing pad and add new marring faster than the pad removes the old kind. That is why every real correction starts at Paint Prep: a clay bar, clay mitt or iron remover pulls that bonded layer off before anything spins against the paint. Skip this step and you are polishing dirt into the clear coat, not out of it.
Stage two: compound and polish, on the right pad, at the right speed
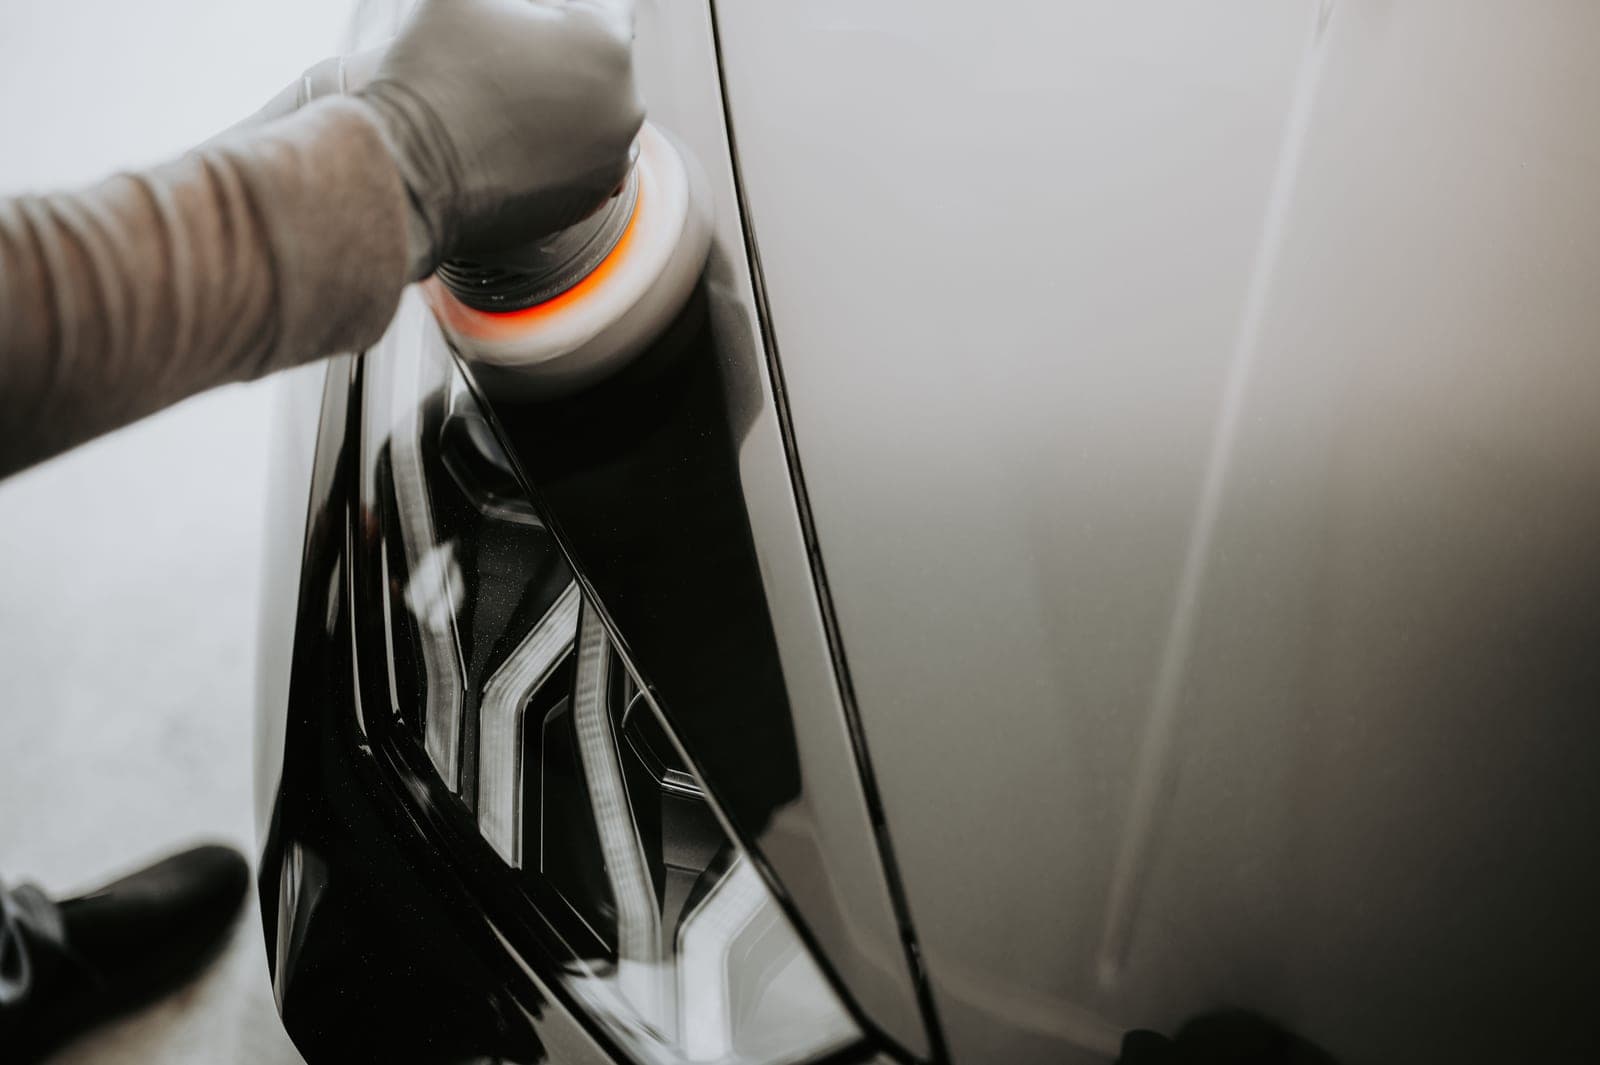
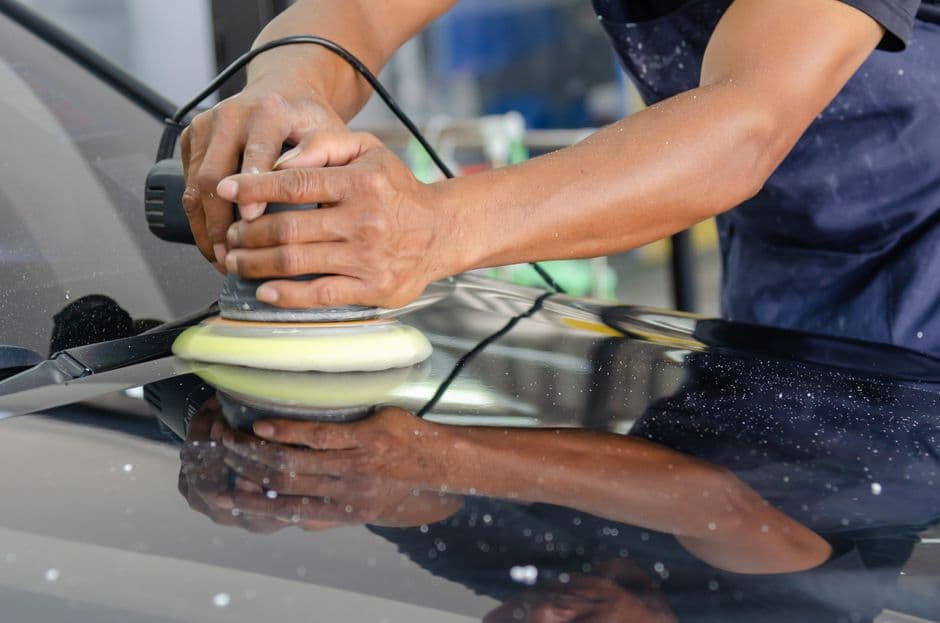
Once the surface is honestly clean, correction is really two decisions layered on top of each other: how aggressive a liquid you need (a compound or polish), and how aggressive a pad you pair it with (see Pads). A dual-action polisher is what actually spins the pad, and it is the one purchase in this workflow you will not want to skip — compounding by hand on modern clear coat mostly just tires your arm without leveling anything. The machine, the pad and the liquid are a matched system: too aggressive a compound on too soft a pad can burn through clear coat on an edge, while too mild a pairing just moves haze around instead of removing it. Read Paint Correction for Beginners before you buy any of the three, because it walks through how those choices depend on one another.
Stage three: protect what you just corrected
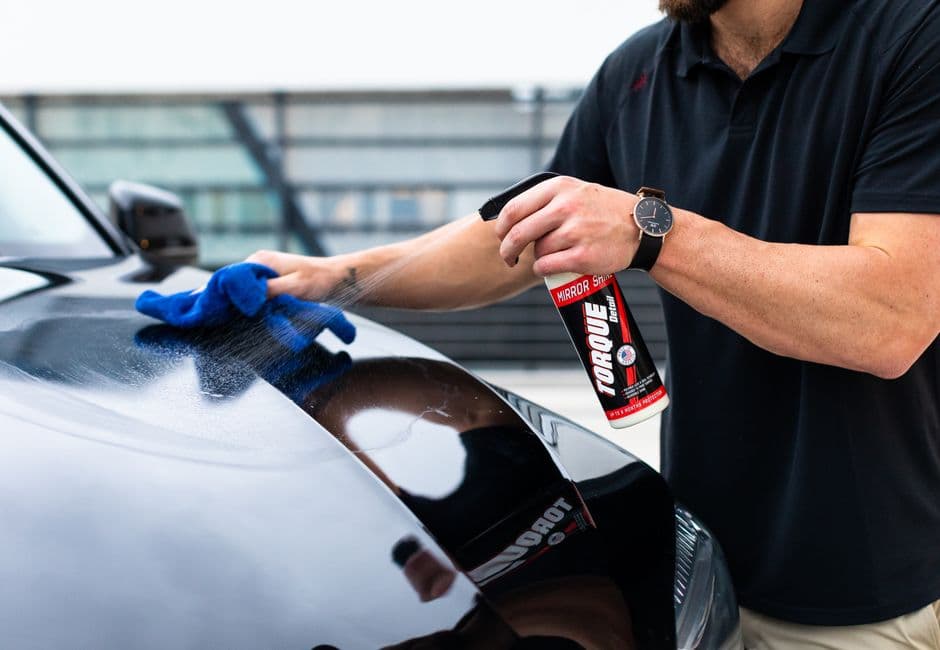
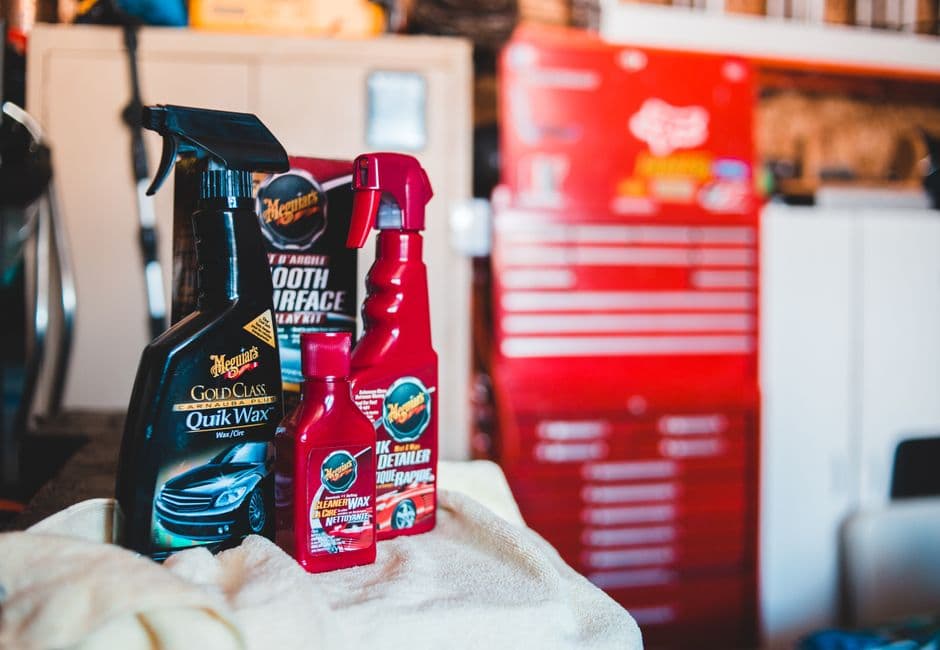
Corrected paint left bare will swirl and dull again within weeks of normal washing. The last stage is picking a protection layer — a traditional wax for warmth and an easy weekend ritual, or a ceramic coating for something that survives many more wash cycles before it needs redoing. Neither one is “better” in the abstract; they trade upfront effort and cost for how often you are willing to reapply. Is Ceramic Coating Worth It? runs the actual cost-per-year math so you can decide based on numbers instead of marketing copy.
What this actually costs, in time and money
A first full correction on a daily driver realistically eats a weekend, not an afternoon: an hour or two to wash and clay, another hour taping trim and running test spots, then a panel-by-panel pass with the machine before you ever open a wax tin. On the buying side, a first-timer’s most efficient move is usually a kit that bundles a polisher with pads and compound in one box rather than assembling five separate listings before the first pass — Machine Polishers covers both routes. None of this has to happen at once, either: decontaminating and protecting a car that does not need full correction is a legitimate hour-long job on its own.
Where beginners actually go wrong
The single most common mistake is not a wrong product choice — it is skipping the test spot. Every roundup and guide on this site repeats it, because it is the difference between a correction and a paint-repair bill: pick one hidden panel, run your full compound-to-polish combination there first, and only commit to the whole car once you have confirmed the pad, liquid and speed you chose actually correct that specific paint without burning through it. How to Polish a Car, Step by Step walks the entire wash-to-wax process in order, and Clay Bar Alternatives covers what to reach for when a traditional bar is not the right decontamination tool for the job.
Start with whichever stage matches where your car actually is today. If the paint just feels rough, start in Paint Prep. If it is clean but hazy and swirled, start in Compounds and Polishers. If it is already corrected and you are just deciding how to keep it that way, start in Wax or Ceramic Coatings. If none of those words mean much yet, begin with what car detailing actually is and what doing it yourself costs.
Buying decisions the guides answer
Two questions come up more than any others once people decide to start. The first is what to actually buy: not which single product, but which combination of machine, pads and chemicals adds up to a working setup — which is what the paint correction kit picks are for. The second is which brand to standardize on, since detailing ranges are designed to be used together; Meguiar's vs Chemical Guys and Griot's vs Adam's cover the four brands most people end up choosing between. And if the whole project is aimed at a ceramic coating, polishing before a ceramic coating explains how much correction the job actually needs — which is usually less than people assume, and never zero.
Doing it by hand, and knowing what you are looking at
Not everything here needs a machine. Waxing genuinely does not — how to wax a car by hand is the method, including the four mistakes behind streaks and white residue in trim. Polishing by hand is more limited but still worth doing on a single panel or somewhere a machine cannot reach, and how to polish a car by hand is honest about where that limit falls.
If you are still working out what you are actually looking at, how to remove swirl marks covers the most common defect and — more importantly — the wash habits that stop it coming back. For where cleaning ends and restoration begins, see car detailing vs a car wash, and for who makes what well, best car detailing brands sorts the seven big names by what each is genuinely strongest at.
The cheaper half of paint correction: not needing it
Almost every swirl mark on a daily driver was installed during a wash or a dry, which makes wash technique the highest-leverage thing in this entire library. How to wash a car without scratching it is the routine — the pre-rinse, the two buckets, the straight-line passes and the drying step that causes more marring than people expect. It pairs with how often should you polish your car, which makes the case that polishing has no correct calendar interval at all: it is subtractive, so it is a decision you make on evidence rather than a habit you keep.
And for the damage that arrives all at once rather than gradually — how to remove paint transfer from a car covers the scuff you get from a garage door frame or another car's bumper, which is someone else's paint sitting on top of yours and usually far easier to remove than it looks.
Buying for someone else
If the person doing the correcting is not you, the same products need a different explanation. Our gift guides re-frame the picks across this site for a gifter who does not know the hobby — by budget, from stocking stuffers up to the flagship gift guide — and the Black Friday deals hub keeps an honest, sourced record of what actually discounts in late November and what does not.
Before any of it, there is the question that decides whether you start this weekend at all. How long paint correction takes breaks the hours down across a one-step and a two-step, and shows why the prep — not the polishing — is where half of them go.
Start here
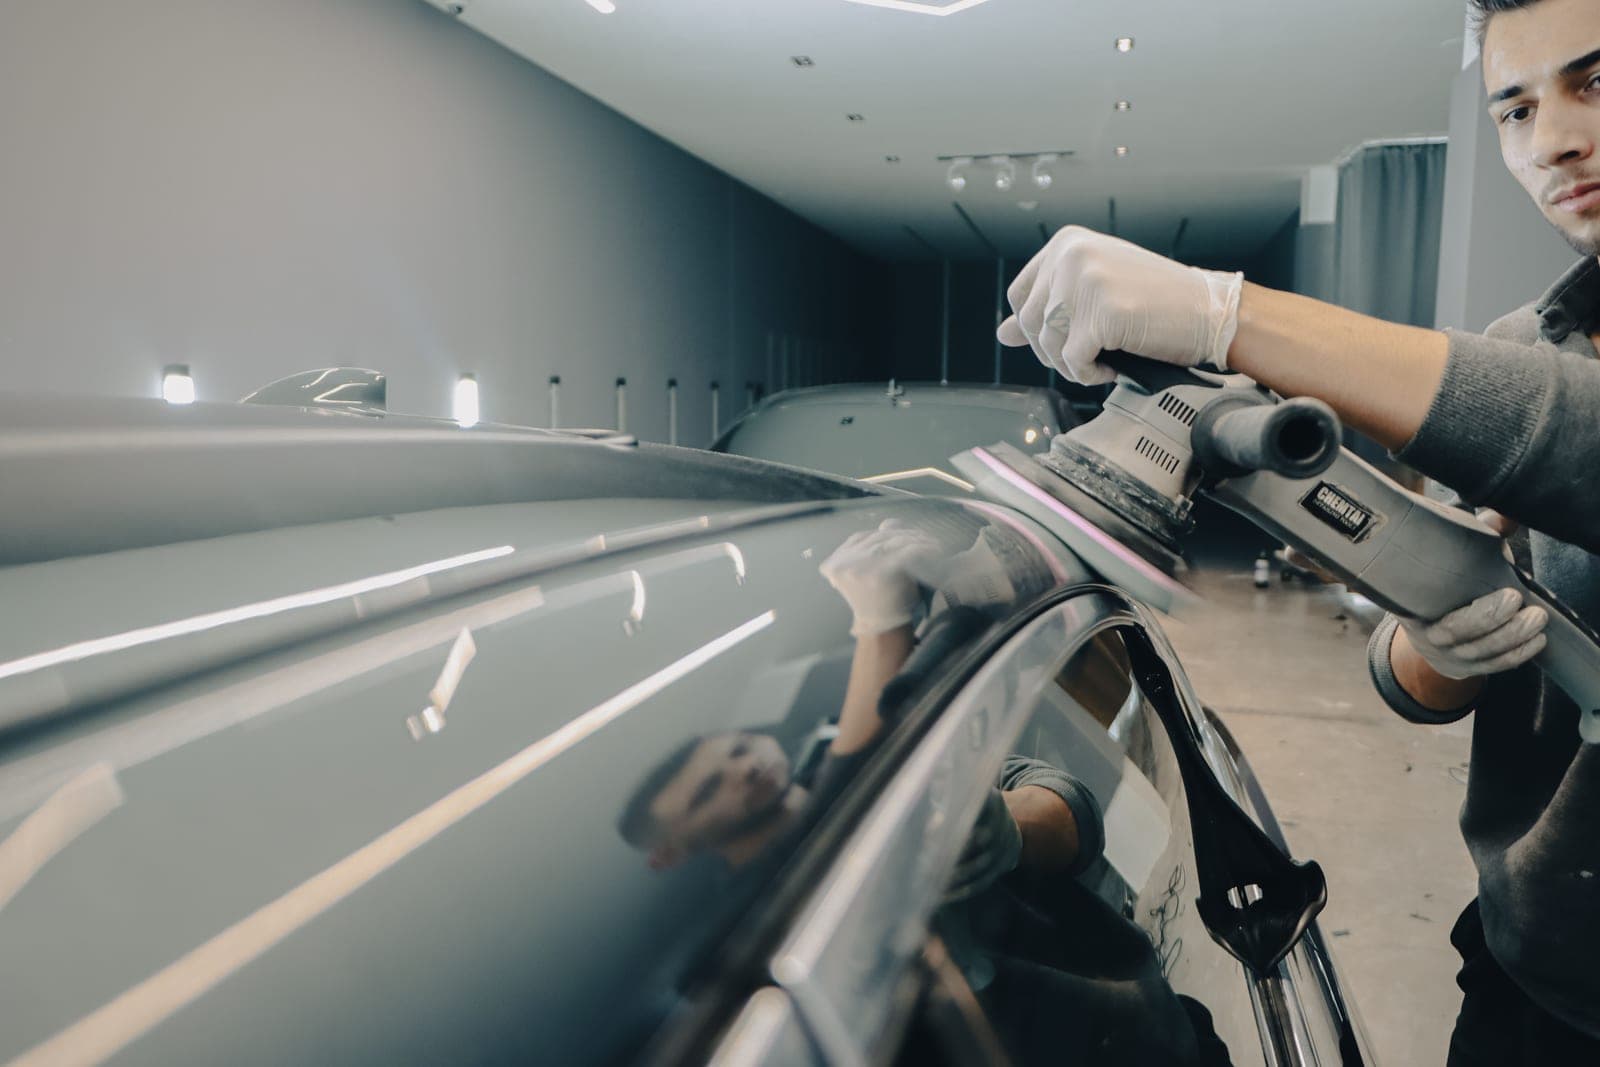
How to Polish a Car, Step by Step
The complete order of operations for polishing a car, from the first wash to the final protective coat.
Read it →
Everything in this hub
All guides
Head to head
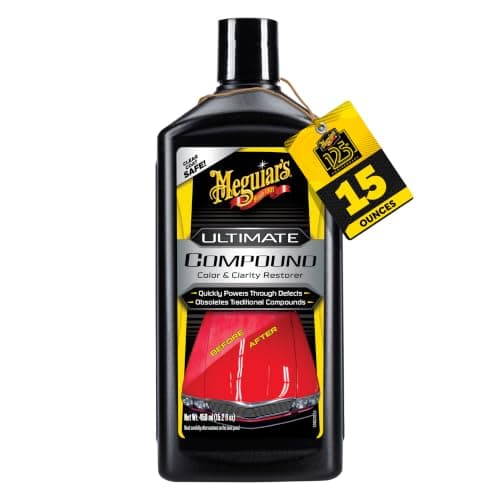
Meguiar's vs Chemical Guys
The two brands compared on compounds, waxes and coatings — plus why brand loyalty is the wrong way to buy car care.
Top pick: Meguiar's Ultimate Compound
#ad · price as of October 20, 2026 · 6 products · 6 priced
Head to head
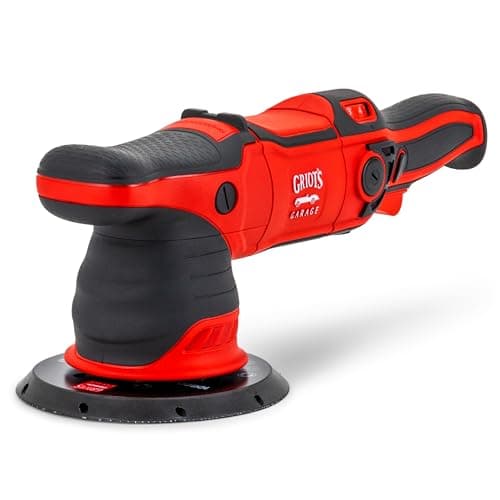
Griot's Garage vs Adam's Polishes
Polishers, pads, coatings, warranty and price compared across two enthusiast brands, category by category.
Top pick: Griot's Garage G9 Random Orbital Polisher
#ad · price as of October 20, 2026 · 6 products · 6 priced
Roundup
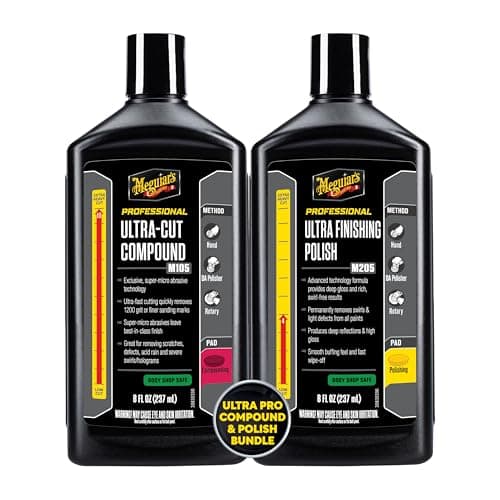
Best Paint Correction Kit
Five correction kits from a two-bottle chemical bundle to a four-step pro ladder, with the gaps in each spelled out.
Top pick: Meguiar's Mirror Glaze Bundle (M105 + M205)
#ad · price as of October 20, 2026 · 5 products · 5 priced
Buyer's guide
How to Remove Swirl Marks
What swirls actually are, the polish sequence that removes them rather than hiding them, and the wash habits that keep them gone.
Top pick: Griot's Garage G9 Random Orbital Polisher
#ad · price as of October 20, 2026 · 4 products · 4 priced
Buyer's guide
How to Polish a Car by Hand
The products, applicators and motion that make hand polishing work — and an honest account of the defects it will not touch.
Top pick: Meguiar's Ultimate Compound
#ad · price as of October 20, 2026 · 4 products · 4 priced
Buyer's guide
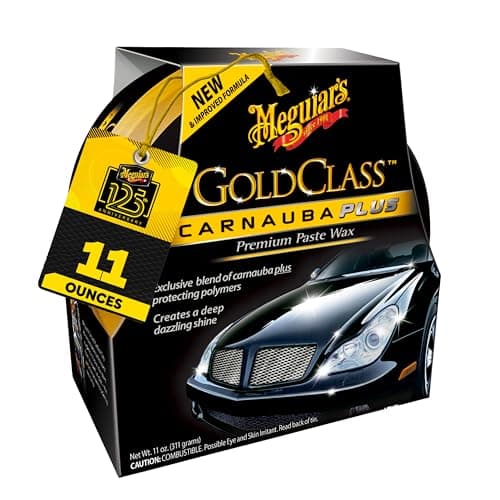
How to Wax a Car by Hand
Thin coats, the right applicator, the swipe test for buff-off timing, and the four mistakes behind streaks and white residue in trim.
Top pick: Meguiar's Gold Class Carnauba Plus Paste Wax
#ad · price as of October 20, 2026 · 3 products · 3 priced
Buyer's guide
Car Detailing vs Car Wash
What a wash removes, what detailing removes, and the four steps that separate the two — with the products each stage actually needs.
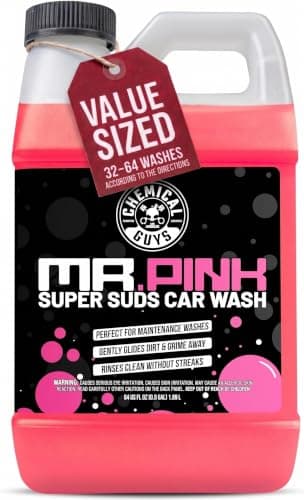
Top pick: Chemical Guys Mr. Pink Car Wash Soap (64 oz)
#ad · price as of October 20, 2026 · 3 products · 3 priced
Roundup
Best Car Detailing Brands
Seven detailing brands compared on what each is genuinely strongest at, each represented by the product that won its category here.
Top pick: Meguiar's Ultimate Compound
#ad · price as of October 20, 2026 · 7 products · 7 priced
Buyer's guide
How to Remove Paint Transfer From a Car
How to tell transfer from a real scratch, the least-aggressive-first ladder from clay to compound, the household methods that damage clear coat, and how to know when the mark is not transfer at all.
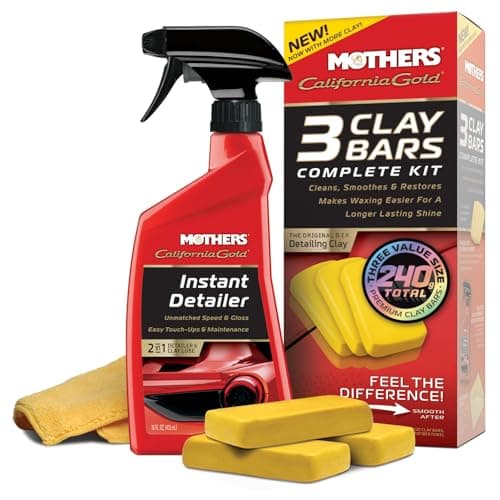
Top pick: Mothers California Gold Clay Bar System
#ad · price as of October 20, 2026 · 4 products · 4 priced
Buyer's guide
How Often Should You Polish Your Car?
Why polishing has no correct calendar interval, the inspection that tells you whether this year is the year, and the maintenance that stretches one correction across several seasons.
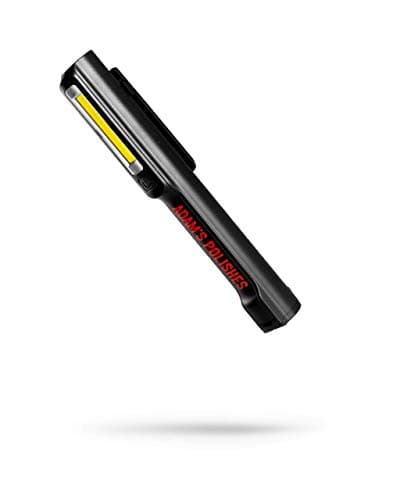
Top pick: Adam's Swirl Finder Flashlight
#ad · price as of October 20, 2026 · 4 products · 4 priced
Buyer's guide
How to Wash a Car Without Scratching It
The wash routine that keeps a corrected car corrected — pre-rinse, two buckets, straight lines, dedicated wheel tools and immediate drying — plus the habits that cause the most damage.
Top pick: Chemical Guys Mr. Pink Car Wash Soap (64 oz)
#ad · price as of October 20, 2026 · 4 products · 4 priced
Buyer's guide
How Long Does Paint Correction Take?
Where the hours go in a one-step and a two-step correction, why prep is half the job, and the four things that actually make it faster.
Top pick: Griot's Garage G9 Random Orbital Polisher
#ad · price as of October 20, 2026 · 4 products · 4 priced
Roundup
Best Car Detailing Products
The whole exterior kit, one product per job and in workflow order: wash, decontamination, machine, pads, cut, refine, protect, dry, maintain and inspect.
Top pick: Griot's Garage G9 Random Orbital Polisher
#ad · price as of October 20, 2026 · 10 products · 10 priced
Buyer's guide
Does Polishing Remove Clear Coat?
The honest mechanics: polishing works by removing clear coat, typical film thicknesses, what a pass actually costs in microns, and how to correct a car without running out of paint.
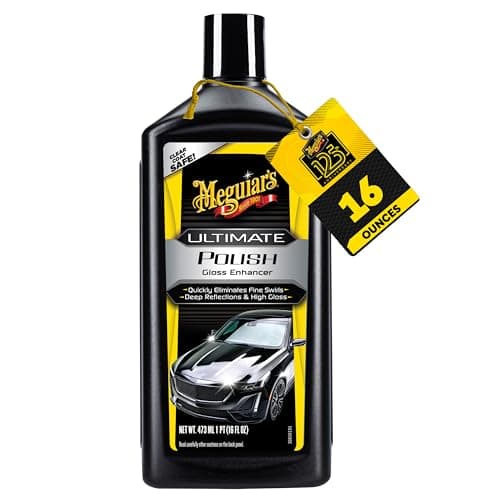
Top pick: Meguiar's Ultimate Polish
#ad · price as of October 20, 2026 · 4 products · 4 priced
Buyer's guide
Can You Polish a Car in the Sun?
Why hot panels and direct sun wreck a correction: flash-off, stiffened abrasive, heat on top of friction heat, and glare that hides defects. Plus the temperature limit and how to work outdoors.
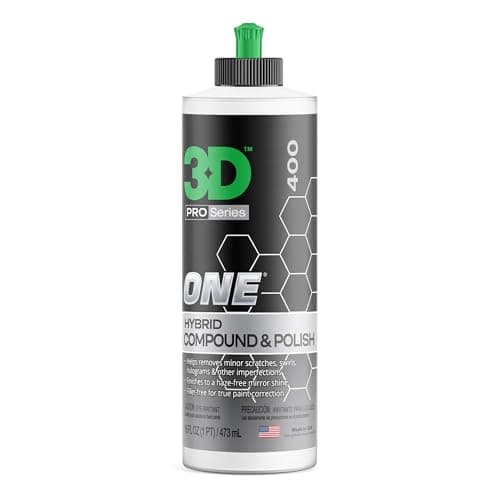
Top pick: 3D One Scratch & Swirl Remover
#ad · price as of October 20, 2026 · 3 products · 3 priced
Buyer's guide
How to Detail a Black Car
Why black shows what every other color hides, and the specific changes to the wash, dry, polish and protect steps that keep it looking right.
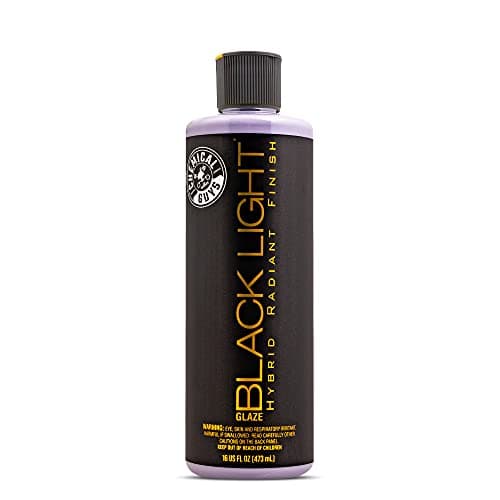
Top pick: Chemical Guys Black Light Hybrid Glaze & Sealant
#ad · price as of October 20, 2026 · 4 products · 4 priced
Buyer's guide
Is Paint Correction Worth It?
What correction permanently buys, what it permanently costs, and the specific cases - lease, resale, repaint candidate - where the answer is no.
Top pick: Griot's Garage G9 Random Orbital Polisher
#ad · price as of October 20, 2026 · 4 products · 4 priced