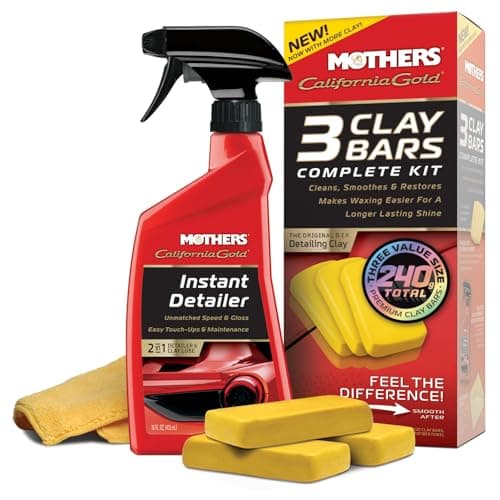
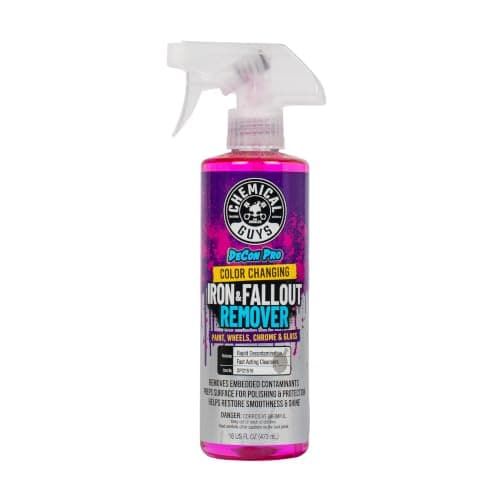
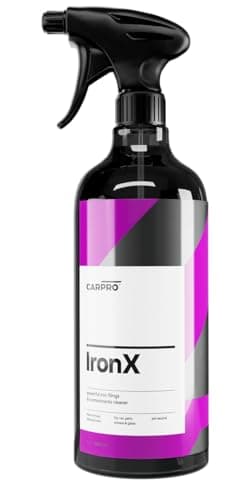
Most cars need both, and iron remover goes first — CarPro IronX is the pick for the chemical stage and a Mothers clay bar for the mechanical one. They are not competing products. An iron remover dissolves embedded ferrous particles chemically; clay shears off everything bonded to the surface mechanically. Using only one of them leaves a category of contamination behind, and using them in the wrong order makes the clay do work it is bad at while dragging the particles it cannot dissolve across your paint.
Prices below come from the live price layer and carry the date we verified them.
Two different problems
Run your hand over a washed car and it feels slightly rough. That roughness is not dirt; washing has already removed the dirt. It is contamination that has bonded to or embedded itself in the clear coat, and it comes in two kinds with two different solutions.
| Iron remover | Clay |
|---|
| Mechanism | Chemical — reacts with iron and dissolves it into solution | Mechanical — a soft medium shears particles off the surface |
| What it removes | Brake dust, rail dust, industrial fallout, any embedded ferrous particle | Tree sap mist, overspray, road tar film, bonded mineral deposits, anything raised |
| What it does not remove | Anything non-ferrous — sap, overspray, tar | Nothing in the paint; clay only reaches what stands above it |
| Marring risk | None — nothing touches the paint | Real. Clay marrs paint if under-lubricated or used dirty |
| Visible feedback | Purple or red bleeding where iron is dissolving | Grey discoloration on the clay face, surface goes glass-smooth |
| Time for a whole car | About 10 to 15 minutes, mostly dwell time | 45 to 90 minutes of hands-on work |
The row that explains the whole page is "what it does not remove." Iron remover cannot touch sap or overspray because those are not iron. Clay cannot reach a particle that has already embedded itself below the surface plane, and when it tries, it drags that particle sideways — which is a scratch. Each tool has a blind spot the other covers.
Why iron remover always goes first
This is the practical core of the comparison, and it is the thing most often done backwards.
Embedded iron particles are hard, sharp and sitting partly below the surface of the clear coat. If you clay first, the clay cannot dissolve them, so it does one of two things: it pulls them out and then carries them around in its own face, or it fails to lift them and skates over them. Both are bad. A particle embedded in your clay bar becomes a cutting tool that you then press against every remaining panel, and that is the single most common way people marr paint during decontamination.
Dissolve the iron first and the clay stage becomes dramatically safer and faster. There is less for the clay to pick up, so it stays clean for longer, so it marrs less. You will also find that a surprising number of cars need far less claying than expected once the iron is gone — on a well-maintained car the chemical stage sometimes does nearly the whole job.
The full sequence, for a car being prepared for polish, wax or a coating:
- Wash with a pH-neutral shampoo and rinse thoroughly.
- Iron remover on cool, wet paint and wheels. Let it dwell — do not let it dry — and rinse.
- Tar remover if there is visible tar, on the spots only.
- Clay with generous lubrication, in small sections, inspecting the clay as you go.
- Rinse, dry, then panel-wipe if a coating is going on.
Our claying guide covers step four in detail, and the panel wipe page handles step five if a coating is the destination.
How to tell what your car actually needs
Two diagnostics, both free, both take two minutes on a washed car.
The bag test, for bonded contamination. Put your hand inside a thin plastic sandwich bag and run it lightly over the paint. The bag amplifies texture your fingertips miss. Gritty means clay. Smooth means you can probably skip it.
The white-panel look, for iron. Embedded iron is easiest to see on light paint as tiny orange or rust-colored specks, most densely on the lower rear quarters and behind the wheels where brake dust lands. On dark paint you will not see them, which is why the real test is the product itself: spray iron remover on one lower panel and watch. Purple or red bleeding means iron, and the amount of it tells you how much.
| What you find | What to use |
|---|
| Heavy bleeding, smooth to the bag test | Iron remover alone. Claying smooth paint is removing clear for nothing |
| No bleeding, gritty to the bag test | Clay alone. Likely sap, overspray or mineral deposits rather than metal |
| Both | Both, in that order. This is most cars over two years old |
| Neither | Neither. Wash, protect, and spend the time on something else |
The two honest cautions
Clay removes a little clear coat and leaves fine marring. Not much, and not always visibly, but it is an abrasive process and it is why claying is traditionally followed by a polish. On a car you are about to correct anyway, that is free. On a car you are only waxing, clay only what the bag test says needs it. Our clear coat explainer puts the cost in context, and do you need to clay bar before polishing answers the sequencing question directly.
Iron removers are strong chemicals with a smell for a reason. They are thiol-based and they are what you can smell working. Never apply one in direct sun or to a hot panel, never let it dry on the paint, keep it off brightwork and unsealed trim, rinse thoroughly, and wear eye protection when you are doing wheels. Used as directed they are safe on clear coat; used on a baking panel in August they can stain.
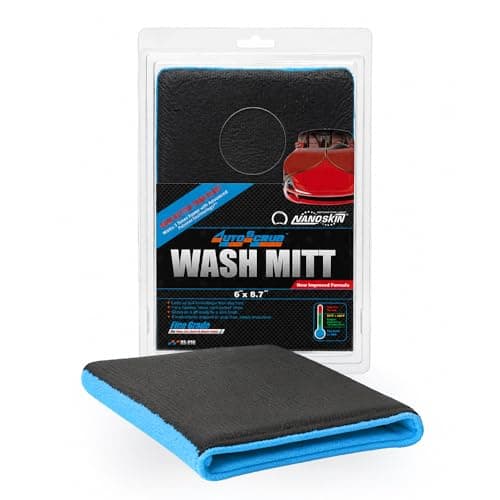
The picks are one of each: the dedicated iron remover, a traditional clay bar kit, a combined iron-and-tar product for people who would rather buy one bottle, and a clay mitt for anyone who finds a bar fiddly. Clay alternatives in general are covered on our clay bar alternatives page, and the wider fields are ranked on best iron remover and best clay bar.
Buying for decontamination
Buy a dedicated iron remover if you have wheels to do
Wheels carry an order of magnitude more brake dust than paint does, and a dedicated iron remover is the product that transforms them. If wheels are the reason you are shopping, the wheel-specific shortlist ranks on dwell behavior and tolerance of baked-on dust rather than on paint safety alone.
A combined iron-and-tar product is a real convenience, not a compromise
Products that handle ferrous fallout and tar in one bottle genuinely save a step on a car with both, and the chemistry is not weakened by the combination. The case for separates is control: a dedicated tar remover can be used as a spot treatment without wetting the whole car in a strong chemical.
Clay grade matters more than clay format
Bar, mitt, towel or disc all work; what decides your result is the aggressiveness grade and the lubrication. Fine or medium grade covers everything a maintained car needs. Heavy grade exists for neglected paint and it marrs correspondingly more, so only buy it if the bag test genuinely demands it — and plan to polish afterwards.
Never clay without proper lubrication
This is the whole safety margin. A quick detailer or a dedicated clay lube, reapplied constantly so the medium glides rather than grips, is what separates decontamination from sanding. Running out of lube halfway through a panel is how people put marring into paint they were trying to clean — our detail spray picks double as clay lubricant.
Drop the clay the moment it looks dirty
Fold a bar to a clean face often and discard it entirely if it hits the ground — a bar that has touched concrete has grit in it permanently and will scratch every panel after. Mitts and towels rinse clean, which is their main advantage and the reason they suit larger vehicles.
Decontaminate before you protect, every time
Wax, sealant or a coating applied over embedded iron seals that iron in to keep rusting under the film, and the result is early, uneven failure of whatever you applied. If the car is getting a coating this is not optional — the daily-driver coating page makes the same point from the other end.