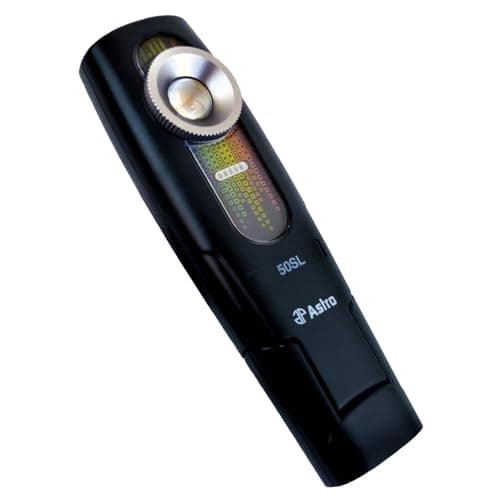
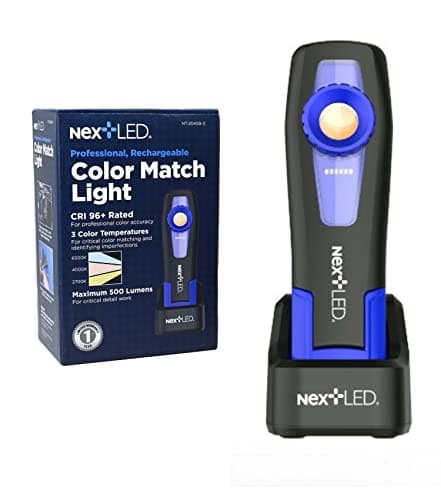
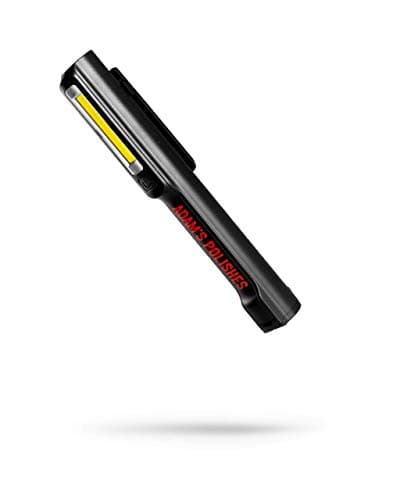
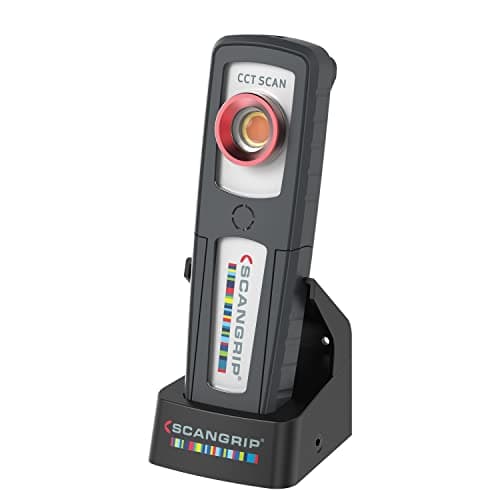
There is a moment in almost every first paint correction where someone finishes a panel under the garage lights, feels quietly pleased, then rolls the car outside and discovers the swirls are all still there. Nothing went wrong with the compound. The problem is that overhead fluorescent and LED strip lighting produces broad, diffuse light from a large area, and diffuse light does not cast the hard shadows that make a scratch visible.
An inspection light fixes that with a small, bright, tightly-focused source. Fine defects throw sharp shadows under it and become obvious. That changes two things: you can see what you are correcting, and — the part people underestimate — you can see when a defect is gone, which is what stops you running a fourth aggressive pass you did not need. Given that every pass spends clear coat you never get back, a light that prevents unnecessary passes pays for itself in paint.
The three specifications that matter
CRI (color rendering index) measures how accurately a light source renders color compared to daylight, on a scale to 100. Anything below about 90 shifts colors enough that you cannot judge a finish honestly. The lights worth owning sit at 93 and above; the best are 97.
Color temperature is the warmth of the light, in kelvin. This is the feature people skip and then wish they had. Some defects — particularly holograms from a rotary, and very fine marring — show clearly under warm 2700K light and hide almost completely under cool 6500K, and others do the reverse. A light with switchable temperatures lets you sweep a panel twice and catch both. It is the single most useful feature in this category.
Beam shape matters more than raw brightness. A tight, hard-edged beam casts the sharp shadow that reveals a scratch; a wide flood washes the panel evenly and hides everything, which is exactly the failing of your garage strip lights. More lumens from a floodlight is not an upgrade.
Lumens are the least important number
Every light here sits somewhere between roughly 170 and 500 lumens, which sounds modest next to a work light rated in the thousands. That is deliberate. An inspection light is not lighting a workspace, it is creating contrast on a surface a foot away, and a very bright flood at close range simply blows out the reflection and hides the defect you were looking for. Judge these on CRI, color temperature and beam control, and treat brightness as a tiebreak.
Where the money goes
The cheap end of this category is genuinely useful. A fourteen-dollar swirl-finder torch with a focused beam will show you swirls you could not see before, and for someone correcting their own car once a year that is most of the benefit available.
What the money buys further up is color accuracy, switchable temperatures, runtime and a housing that survives being knocked off a bench. If you are correcting cars for other people, or judging color on a repair, those become real requirements. If you are not, be honest about it — the budget option is not a compromise so much as a smaller version of the same idea.
How to actually use one
Turn off the overhead lights, or at least work away from them. Hold the light at a low, raking angle to the panel — roughly 30 to 45 degrees rather than straight on — and move it slowly while you look across the surface rather than down at it. Defects appear as the beam sweeps past them, not while it is held still.
Then check the same area twice at different color temperatures if your light offers them. Wipe the panel with a residue remover before judging it, too — polishing oils temporarily fill fine defects and make a correction look better than it is, which is precisely why panel wipes exist.
Sunlight remains the final referee. If you have direct sun available, use it — an inspection light is what lets you do the same job at ten at night in a closed garage, which is when most correction actually happens.
How to choose an inspection light
CRI first
Look for a published CRI of 93 or higher, and prefer 95 or more. A light with no published CRI figure is telling you something. Color accuracy is the difference between judging a finish and guessing at it.
Switchable color temperature if you can stretch to it
Two or three selectable temperatures — typically around 2700K, 4000-4500K and 6500K — let you catch defects that hide under one and show under another. On dark paint, holograms in particular can be invisible at one setting and obvious at the next.
Beam, form factor and mounting
- Slim handheld — the default. Fits into door shuts and around mirrors, and is easy to hold at a raking angle.
- Magnetic base or hook — lets you park the light and use both hands, which matters when you are holding a polisher.
- Pocket torch — a tight, hard beam in something you can keep in a pocket. The cheapest real upgrade over garage lighting.
Runtime and charging
A correction session runs for hours. A light that dies after forty minutes is an irritation you will feel every time. Rechargeable is the norm; check whether it can run while plugged in.
Buy the light before the compound
If you are assembling a correction kit and the budget is tight, a cheap inspection light does more for your results than an upgrade from a good compound to a slightly better one. Being able to see the defect and see it disappear is worth more than a marginal difference in cut. The compound field is in best rubbing compound for cars.