Wet sanding is the stage above compounding. Everything else on this site works by abrading clear coat gently enough that a mistake is recoverable; sandpaper works by abrading it deliberately and quickly, and a mistake is a trip to a body shop. That is the honest frame for this page. It is not a scary-sounding way of selling paper — it is the reason the ranking below is built around how tightly an abrasive is graded rather than how fast it cuts.
The useful mental model: a compound levels the clear coat around a defect until the defect disappears, and a sheet of 2000-grit paper does the same thing much faster and much less selectively. Sanding is therefore the right answer only when the defect sits proud of the surface or is too deep for a compound to reach in a sane number of passes — orange peel, a paint run, a dust nib, a scratch the compound has already failed to remove. For anything else, a compound and a pad are both safer and cheaper. If you have not tried that route yet, the cutting compound shortlist is where to start, and what a cut and polish actually is explains the two-stage job that sanding sits on top of.
The gate: run a fingernail across it first
Before you buy any abrasive, do the test the whole site runs on. Drag a fingernail lightly across the defect. If the nail glides over, the damage is inside the clear coat and is removable — by a compound first, and by sanding only if the compound has visibly failed. If the nail catches, the damage has gone through the clear into base coat or primer, and sanding will not fix it either. Sanding a nail-catching scratch simply thins the clear around a defect that is no longer made of clear coat. Compounds sorted by scratch depth walks the same test in more detail and is the page to read if the problem is one mark rather than a whole panel.
Two more stop signs. Paint that is chalky and lifting is delaminating clear, and abrading it accelerates the failure. And single-stage paint — common on older vehicles and on many commercial finishes — has no clear coat at all, so the colored layer is what you would be sanding. If neutral gray comes off on your pad or towel you are in clear coat; if color comes off, stop. How much clear coat a pass really costs sets out the limits we publish and, deliberately, the numbers we refuse to publish.
What wet sanding is genuinely good at
Orange peel. The dimpled texture in factory and refinish clear is not a defect in the clear, it is the shape of the clear, and no compound can level a surface it has to follow. Sanding flattens the peaks; compounding afterward restores the gloss. This is the single most common reason a home detailer reaches for paper.
Runs, sags and dust nibs. A repaint that has run, or cured with a piece of grit in it, has a high spot standing above the panel. A rigid block takes the high spot down without touching the flat paint around it; a sheet over a soft pad will follow the run instead of cutting it.
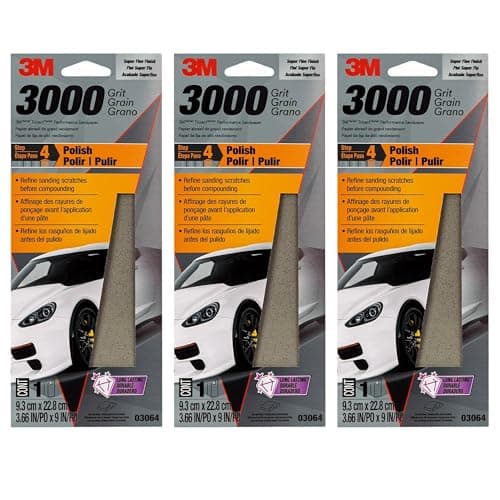
Refinish sand scratches. If a panel was sanded at 1200 or 1500 grade during bodywork, the marks left behind are exactly what a P3000 abrasive is designed to clear before the compound stage — 3M sequences its Trizact 3000 grade for precisely that job.
Oxidized headlight lenses. Polycarbonate is not clear coat, and the yellowed layer is usually deeper than any compound will reach. Our headlight restoration picks cover that job end to end, and it is a far better place to learn the feel of wet sanding than a fender.
The grit number on the box is not the whole story
Two sheets labeled 2000 can behave very differently, because the number describes the average particle size, not the spread. Conventional abrasive papers are graded to a tolerance: most particles land near the nominal size and a few sit above it. On wood that is irrelevant. On clear coat, one particle meaningfully coarser than the rest draws a scratch meaningfully deeper than the rest, and that lone scratch is what you are still chasing two compound passes later.
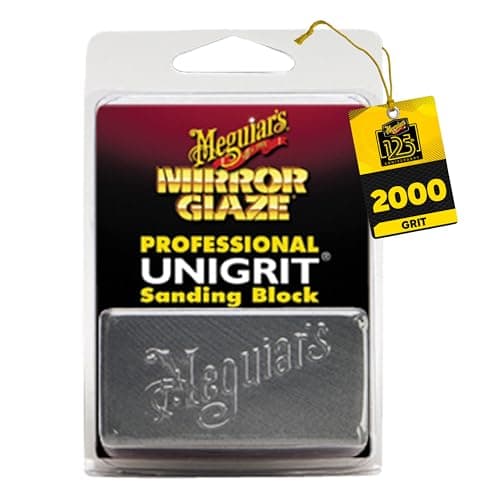
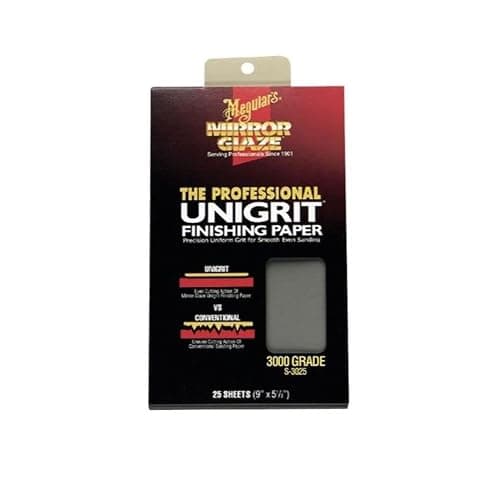
The two products that address this do it differently. Meguiar's Unigrit line is graded so the particles are closely uniform, which is why its own copy leads on an even sanding pattern that buffs out quickly rather than on cutting speed. 3M's Trizact uses microreplication instead: the mineral is formed into microscopic three-dimensional pyramid structures distributed evenly across the backing, which expose fresh cutting faces as they wear, so the cut stays consistent through the pass. Different engineering, same objective — remove the stray deep scratch from the equation.
Grade systems are worth ten seconds too. A "P" prefix is the European FEPA scale; a bare number on US automotive paper is usually the CAMI scale. They track each other closely through the range that matters here, but they are not identical, and at the fine end the P numbers keep going where CAMI numbers stop. Buy within one system where you can, and treat a jump between systems as a jump in grade.
The ladder, and the rule that keeps a wet sand recoverable
Sanding is never one grit. You cut with the coarsest grade the defect actually needs, then step finer to replace deep scratches with shallower ones, until the remaining scratches are fine enough for a compound to remove. Two rules make that work:
- Never skip more than one grade. Going 1500 straight to 3000 leaves 1500-grade scratches that the 3000 paper cannot reach and the compound will struggle with.
- Never finish coarser than 3000 on clear coat. 2500 marks are removable but cost you real clear coat in compounding. 3000 hands the compound a much easier job, which is the whole point of the finer grade.
A realistic DIY ladder for orange peel is 2000, then 2500 or 3000, then compound, then polish. For a dust nib it is a few strokes at 2000 on a block, then 3000 to blend, then compound. You almost never need 1000 or 1200 on a panel you are not refinishing.
How we ranked these
Six criteria, in this order of weight: grading uniformity (how likely the abrasive is to leave one scratch deeper than the rest); grit ladder (does buying this get you a usable sequence or a single grade); backing behavior (paper, foam disc or rigid block — each is right for a different defect); wet performance (waterproof backing, resistance to loading up); pack size against a real job (a 25-sheet professional pack is not a virtue if you need two sheets); and cost per usable face, which is not the same as the price on the listing once you account for folding a sheet into thirds.
We sand no panels of our own and we do not claim to. Every specification below is the manufacturer's published figure, cited at the foot of the page, and every judgment is reasoning from those figures plus the documented sequences 3M and Meguiar's publish for their own systems — the method is written up on how we research. Prices are pulled live from the retailer and stamped with the date we verified them; where we have no verified price we show none rather than an old one.
Buying abrasives for clear coat
Start finer than you think you need
The instinct on a stubborn defect is to reach for a coarser grade. On clear coat that instinct is backwards, because the coarser grade removes more material everywhere, not just at the defect, and every extra grade you use is another full step you have to sand back out again. Start at 3000 on a test area. If three or four passes show no change, step to 2500, then 2000. The extra twenty minutes of testing costs nothing; the clear coat you save is permanent.
Structured abrasive versus conventional paper
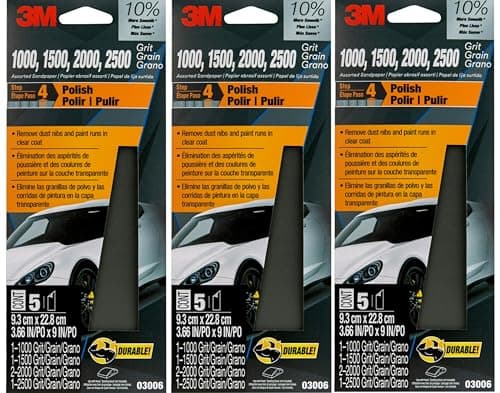
3M's Trizact products cost more per sheet than plain silicon-carbide wet/dry, and the difference is real rather than marketing: microreplicated pyramid structures present a consistent cutting geometry and keep exposing fresh mineral as they wear, where a conventional sheet dulls and loads. The practical upshot is a more predictable finish and fewer sheets used. The plain 3M Wetordry assortment still earns its place on this page because it is the cheapest way to own four grades at once, and because a great deal of DIY sanding is a single small area where the value argument wins.
Backing is a real decision, not an accessory
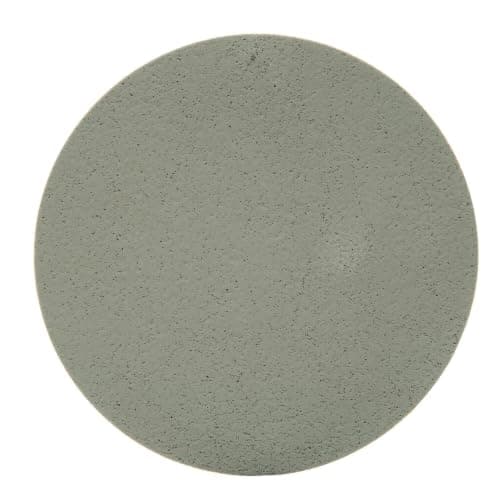
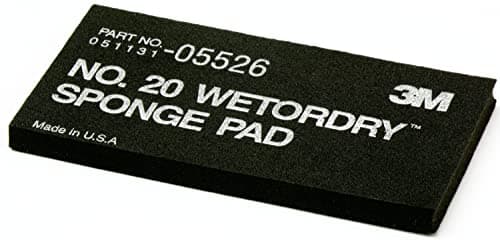
Three backings do three different jobs. A sheet over a sponge pad conforms to the panel and is what you want across a flat or gently curved area — and bare fingers behind a sheet are the classic way to produce three deep finger-width tracks, which is why the pad on this list is not padding out the count. A rigid block does the opposite: it refuses to follow the surface, which is exactly right for cutting a run or a nib down to the level of the paint around it. A foam-backed machine disc gives you even contact and speed on a small repair area, at the cost of removing material far faster than your hand can feel. Buy for the defect in front of you.
Lubricant, and keeping grit out of the bucket
Wet sanding is wet for two reasons: the water carries away the clear coat you are removing so the paper does not clog, and it lets the abrasive glide rather than grab. Clean water with a few drops of car shampoo is the standard lubricant, kept flowing and replaced the moment it looks cloudy. Soak the sheets before use so the backing is fully saturated. And keep the sheet, the pad and the panel clean — a single piece of grit picked up off the ground turns a 3000-grade pass into a gouge. The same discipline behind washing a car without scratching it applies here at about ten times the stakes.
You are buying two more products whether you planned to or not
Sanding always ends in haze. That is not a failure, it is the state the process leaves the paint in, and it is removed by a compound pass followed by a finishing polish. Buy both at the same time as the paper — discovering halfway through a Saturday that a sanded panel looks worse than when you started, with nothing on the shelf to fix it, is how people end up at a body shop. Cutting compounds handle the first stage, finishing polishes the second, and microfiber cutting pads are what makes the compound stage quick enough to be realistic.
Professional pack sizes are the norm, and that is fine
Most automotive abrasives are sold to body shops, so 15-disc cartons and 25-sheet packs are standard. It is worth noticing that the consumer-sized three-packs cost less in total but usually more per sheet, and worth being honest with yourself about which one you need. A single dust nib does not justify 25 sheets; a hood with orange peel across it absolutely does.
Where this goes wrong: edges, ridges and enthusiasm
Clear coat is thinnest on edges, body lines and the crowns of ridges, because paint flows away from a sharp radius as it cures. Those are the places where sanding burns through first, and the failure is sudden — there is no warning stage where the paint looks slightly thin. Tape off edges and ridges before you start, keep the block or pad flat on the panel rather than tipped onto a corner, and stop to look far more often than feels necessary. A hard, focused inspection light makes that check honest; our paint inspection light picks exist for exactly this. And if the panel is a ceramic-reinforced German clear that has already resisted a compound, the hard-paint shopping list is a cheaper experiment than paper.