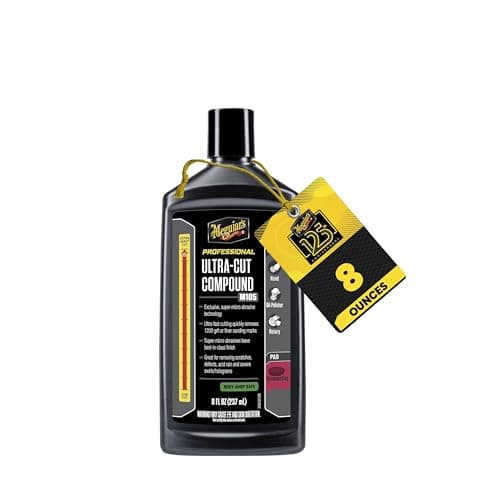
Every cutting compound is a negotiation between two numbers that pull in opposite directions: how much clear coat it removes, and how rough the surface looks when it is done. Pick a compound with enormous cut and you clear the defect in one pass and then spend an hour polishing out the haze it left. Pick one that finishes beautifully and it may simply refuse to touch a deeper scratch no matter how many passes you make. The whole skill of choosing is knowing which side of that trade your paint sits on.
"Paint correction" specifically means removing defects by leveling clear coat around them, rather than filling them in so they are less visible. That distinction matters commercially, because plenty of products marketed as scratch removers are mostly fillers — they look spectacular for three washes and then the scratch reappears. Every compound on this page removes material. That is why they are here.
How cut level actually works
Compound abrasives break down as you work them. A modern diminishing-abrasive formula starts coarse to remove material fast, then the particles fracture into progressively finer ones as the pad passes over them, so the same product finishes far better at the end of a set than it cut at the start. That is why working time matters and why stopping a compound early gives you the worst of both — full cut, none of the refinement.
Older-style fixed-abrasive compounds do not break down. They cut at the same aggressiveness from the first second to the last, which makes them fast, predictable and guaranteed to need a follow-up polish. Both types are represented below, and neither is wrong; they just demand different workflows.
Two-step versus one-step
A two-step correction uses a genuine cutting compound on a cutting pad to remove the defects, then a finishing polish on a soft pad to restore gloss. It gives the best result and takes roughly twice as long. A one-step uses a single product that cuts moderately and finishes acceptably, which for the ordinary daily-driver swirls most people are actually looking at is usually the right call.
Be honest about what your paint needs before choosing. Deep scratches you can catch a fingernail in will not come out with any of these, because they have gone through the clear coat and there is nothing left to level. If you are unsure how to read what you are seeing, start with paint correction for beginners, and if you only want light swirls gone, our general rubbing compound roundup is the gentler shortlist.
The compound is half the pairing
Compound aggressiveness and pad aggressiveness multiply. The most cutting compound on this page loaded onto a soft finishing pad removes surprisingly little; a mild one-step on a firm cutting pad removes surprisingly much. Choose the pair together, using our foam cutting pad picks, and always test the least aggressive combination first on a single panel before committing to the whole car.
That pairing matters most when the clear coat itself is unusually hard. If a compound on this page barely improves a test section, the problem is usually not that you picked the wrong bottle — it is that a ceramic-reinforced German clear needs a more aggressive pad under it. Best compound for hard paint ranks the compound-and-pad combinations that actually move those finishes.
How to choose a cutting compound
Work in this order and you will not over-correct, which is the mistake that actually costs you paint.
1. Diagnose the defect first
Wash and decontaminate the car, then look at it in direct sun or under a single bright light. Fine circular swirls that appear as a halo around the light source are the easiest defect there is and need very little cut. Dull, chalky, faded color is oxidation, which needs moderate cut across the whole panel. Individual straight scratches need cut proportional to their depth — and if a fingernail catches, no compound will remove them because the damage is deeper than the clear coat you can safely take off.
2. Start with the least aggressive option that could work
Correction is subtractive and factory clear coat is thin — thinner on modern cars than on anything from the nineties. You cannot put it back. Test a single panel with a mild combination, inspect it properly, and only step up if the defect survived. Enthusiasts call this a test spot; it takes ten minutes and it is the difference between correcting a car and thinning it.
3. Match the compound to the pad
- Heavy compound + cutting pad — maximum removal, expect haze, plan a finishing pass.
- Heavy compound + polishing pad — moderate removal with a better finish; a common one-and-a-half-step compromise.
- One-step + polishing pad — the setup that suits most daily drivers with ordinary swirls.
- Finishing polish + soft pad — no meaningful correction, pure gloss, the last step before protection.
4. Work it properly
Four or five pea-sized drops on the pad, spread at low speed with the machine off the trigger, then work a two-foot square in slow overlapping passes with moderate pressure until the product goes clear. That final stage is where a diminishing abrasive finishes down, so stopping early wastes the best part of the formula. Wipe the residue with a clean plush microfiber before it dries.
5. Inspect with an oil wipe-down
Compounds contain oils and fillers that temporarily hide what is left. Wipe the panel with an isopropyl alcohol dilution or a dedicated panel-prep spray before deciding you are finished — a surprising number of "perfect" corrections reappear when the oils come off. This step matters most on dark paint, which is covered further in our black-car compound guide.
The common mistake
Buying the most aggressive compound available because it sounds like the thorough choice. Heavy compounds are specialist tools for heavy defects, and used on ordinary swirls they remove far more clear coat than the job needed and leave you an extra finishing stage to fix the haze. The right compound is the mildest one that removes what you actually have.