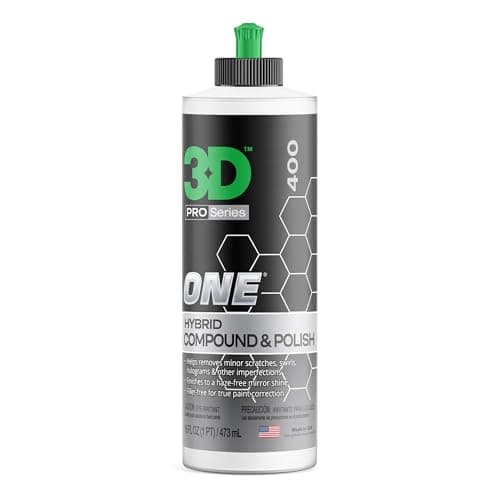
Almost everything sold as a "scratch remover" removes exactly one thing: clear coat. The scratch is not filled in or repaired — the surrounding clear is leveled down until the bottom of the scratch is the new surface. That is the entire mechanism, and understanding it tells you immediately which scratches can be fixed this way and which cannot.
So before you buy anything, do the fingernail test. Run a fingernail lightly across the scratch, perpendicular to it. If your nail glides over without catching, the damage is inside the clear coat and a compound will remove it. If your nail catches in the groove, the scratch has gone through the clear and probably into the base coat or the primer — and no compound on this page or any other will fix it, because there is no clear left above it to level down to.
What the fingernail test actually tells you
Nail glides over, scratch is white or gray in daylight. This is usually a transfer mark or a light clear-coat scratch. A moderate compound clears it in a few passes, sometimes by hand.
Nail glides, scratch is visible from several feet away. A deeper clear-coat scratch. It needs a real cutting compound, a machine, and probably a finishing pass afterwards to clear the haze the cutting step leaves.
Nail catches. Through the clear. Your options are touch-up paint, a body shop, or living with it. Compounding harder does not reach it — it just thins the clear coat around the scratch until you have a second, larger problem. Being blunt about this is the most useful thing this page can do.
Cut level, and why more is not the answer
A compound's cut is how quickly its abrasives level the surface. Heavy-cut compounds remove a deep scratch fast and leave their own haze doing it, which then needs a second, finer product to clear. Lighter one-step compounds remove less but finish clean enough to stop there.
The instinct when a scratch does not disappear is to jump to the most aggressive compound in the shop. That is usually the wrong move, because clear coat on a modern car is measured in tens of microns and every aggressive pass spends some of it permanently. Start with the mildest product that could plausibly work, and step up only if it does not. The full mechanism is in polish vs compound.
There is one step above a heavy compound, and it is worth knowing where it starts. If the nail glides but a genuine cutting compound has visibly failed after several passes — or the mark is a paint run or a nib standing proud of the panel rather than a scratch cut into it — the remaining option is wet sanding, which levels the surface far faster and far less selectively than any bottle. Best sandpaper for wet sanding a car covers which grades are safe on clear coat and, just as usefully, the defects that should never be sanded at all.
By hand or by machine
A single scratch on a door is a reasonable hand job. A car full of them is not — hand correction covers a tiny area per hour and it is very hard to keep pressure even, which is how you end up with a shiny patch around the scratch instead of a corrected panel.
If the damage is one mark, buy a product formulated to work under a hand pad and accept it will take twenty minutes. If it is more than that, a dual-action polisher pays for itself on the first car, and how to polish a car by hand covers where the hand approach genuinely does still make sense.
The step people skip
Compound the scratch out, look at the panel in the garage, decide it is fixed, then see it in sunlight a week later and find a dull halo where the scratch used to be. That halo is haze from the compound itself, and it needs a finishing polish on a soft pad to clear. On dark paint it is not optional — see best polishing compound for cars for the products that do it, and the finishing pads that carry them.
Then protect the area. Compounding strips whatever wax or sealant was there, so the freshly corrected paint is bare and unprotected until you put something back on it.
One case where the fingernail test can mislead you: a scuff from a garage door frame or another car's bumper is often not a scratch at all but a deposit of foreign paint sitting on top of your clear coat, which comes off far more easily and with far less cut than anything on this page. How to remove paint transfer from a car has the test that tells the two apart before you reach for a compound.
How to choose a scratch compound
Match the product to the test result
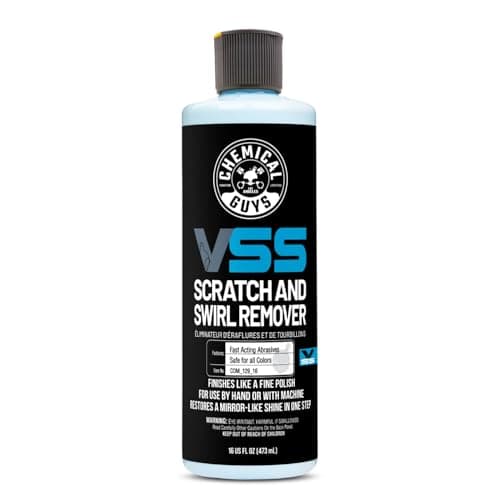
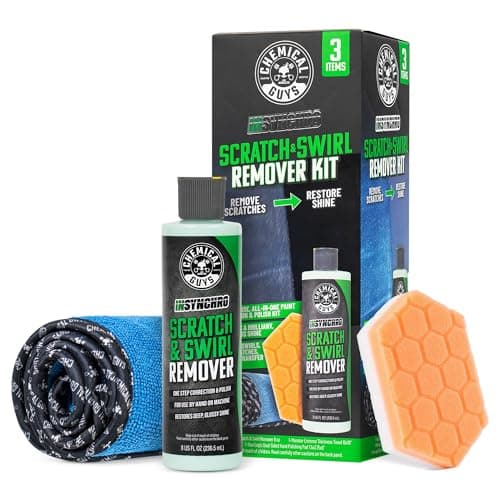
- Light marks, nail glides easily — a one-step scratch and swirl remover. Cuts enough, finishes clean, no second product needed.
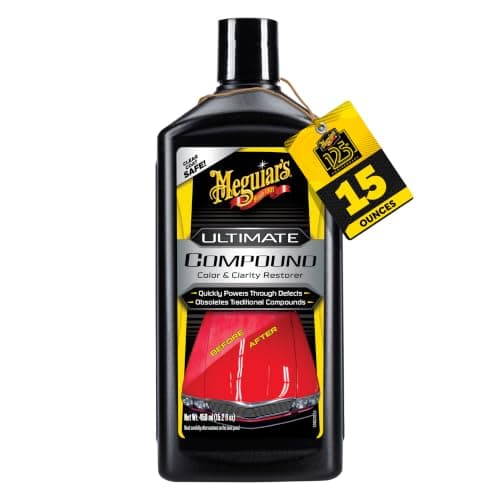
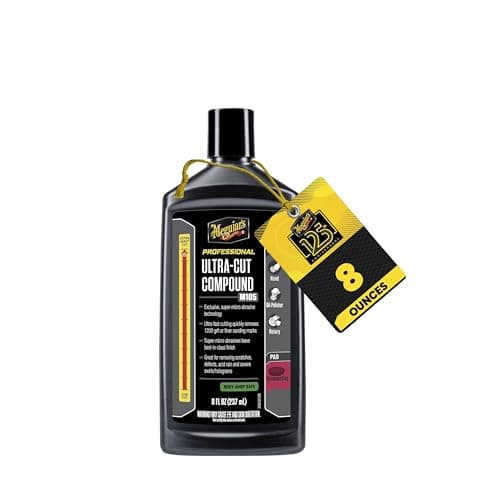
- Deeper clear-coat scratch, still no nail catch — a proper cutting compound on a cutting pad, followed by a finishing polish.
- Nail catches — touch-up paint or a body shop. Do not compound it.
Check whether it works by hand
Not all compounds do. Machine-only formulations rely on the heat and friction of a rotating pad to break their abrasives down, and worked by hand they simply smear without correcting. If a hand fix is your plan, buy a product that explicitly supports it.
Diminishing versus non-diminishing abrasives
Diminishing abrasives start coarse and break down finer as you work them, so one product cuts and then refines within a single pass — forgiving, and the reason several picks here suit beginners. Non-diminishing abrasives hold a constant cut for as long as you work them: more predictable for a professional, less forgiving if you stop at the wrong moment.
Test on a small area first
Paint hardness varies enormously between manufacturers, and the same compound that clears a scratch in three passes on soft Japanese paint may need eight on hard German clear. Do one small section, inspect it under a strong light, and only then commit to the panel. A cheap swirl-finder light makes that judgment possible.
Do not chase a scratch you cannot win
The most expensive mistake in this category is repeatedly compounding one stubborn scratch. Each attempt removes clear coat that never comes back, and the failure mode — burning through to base coat — is dramatically worse than the scratch you started with. Two or three honest attempts, then stop.