Start with what is actually wrong, because it changes what you buy. A yellowed headlight is not dirty and it is not stained. Modern lenses are polycarbonate with a thin UV-protective hard coat sprayed onto the outer face, and that hard coat is a consumable. Sunlight, engine-bay heat, road grit, salt and years of washing degrade it, and once it fails, ultraviolet light starts breaking chemical bonds in the polycarbonate underneath. The result is photo-oxidation: haze, fine cracking, and the yellow-to-brown cast everyone recognizes. It typically starts showing after two to five years of outdoor parking.
That oxidized layer is part of the surface now. It cannot be rinsed, wiped or washed off, which is why every household trick you have read about disappoints. Restoring a lens means physically removing the dead outer layer — sanding it back, then polishing the sanding marks out until the plastic is optically clear again. That is a paint correction, run on plastic instead of clear coat, which is why the tools on this page are the ones already in this hub.
Why a full-size DA is the wrong machine here
A headlight is roughly the size of a sheet of paper, curved in two directions, and surrounded by paint you do not want to touch. A 5.5-inch pad on a long-throw polisher cannot sit flat on it — it rides the high spot in the middle and never reaches the corners or the edge return, which is exactly where lenses go yellow first. Trying anyway is how people burn a bumper corner with the edge of a pad.
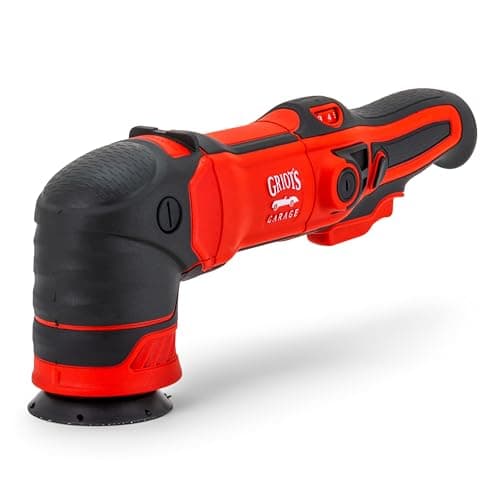
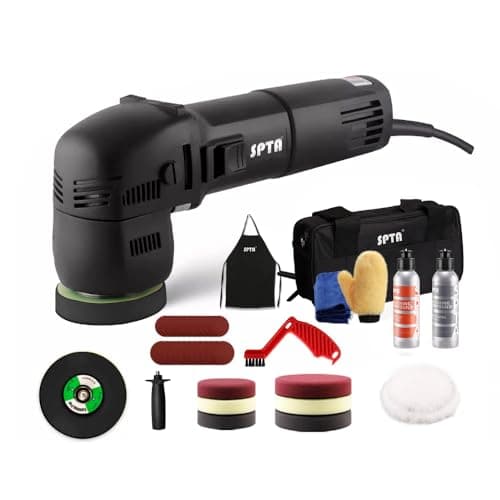
The right machine is a compact orbital running a 3-inch pad, which conforms to the lens curvature and lets you keep the whole face of the pad on the plastic. Three of the five picks below are that class of tool; the other two are the liquids, because a polisher with nothing to cut with is half a purchase. If you want the compact-machine field ranked on its own merits rather than for this job, our mini polisher picks cover it.
The part almost every headlight kit gets wrong
Polishing alone clears a lens beautifully and then fails. Once you have sanded and polished, the factory hard coat is gone — you removed the last of it along with the oxidation — and bare polycarbonate has no UV defense at all. Left like that, a lens restored in the spring is visibly hazy again by the following summer. Plenty of people restore their headlights twice a year for years without ever being told why.
The fix is to re-seal the lens after polishing. A dedicated UV-curable headlight clear coat is the durable answer, and a ceramic or graphene spray is the quick one — shorter lived, but honest protection that takes two minutes at the end of the job. We do not rank a headlight-specific UV clear coat here because we do not carry one in the catalog, and we are not going to invent a pick to fill the slot. Buy one, or accept that you are on a maintenance schedule.
Sanding first, almost always
A lens with light haze can sometimes be brought back with compound alone. A genuinely yellow lens cannot — compound removes a few microns and the oxidized layer is deeper than that. The standard sequence is wet sanding through progressively finer grits, then compounding out the sanding marks, then polishing to optical clarity. That is why the top pick below ships with sanding discs in the case: on this job the discs are not an accessory, they are the first half of the work.
Two safety notes that are worth more than any product recommendation. Tape off the paint around the lens before you start — masking tape on the bodywork costs nothing and a sanded fender costs a repaint. And keep machine speed low and the lens wet or lubricated: polycarbonate softens with heat far sooner than clear coat does, and a hot lens goes permanently cloudy in a way no further polishing will clear.
Prices below are live and date-stamped from the retailer. Where we have no verified price we show none rather than a stale one.
Buying for headlight work
Pad size beats power
Every useful property of a headlight machine follows from the pad diameter. A 3-inch pad sits flat on a curved lens, reaches into the edge return, and keeps the pad face away from surrounding paint. A 5-inch pad does none of those things regardless of how strong the motor behind it is. If you already own a full-size dual-action, the cheapest route to a usable headlight setup is a 3-inch backing plate for it rather than a second machine — see our backing plate picks for the thread and diameter details.
Corded is genuinely better for this one job
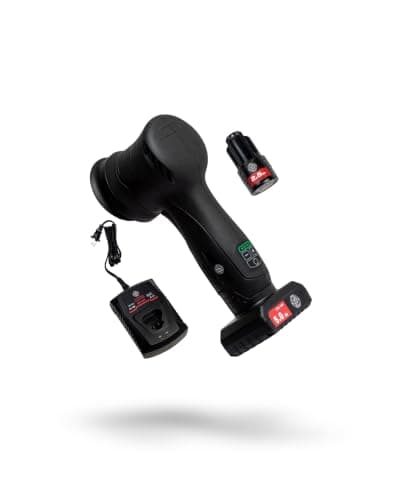
We normally treat cordless as a convenience worth paying for. Headlights are the exception: you are working on two small areas at the front of a stationary car, an extension cord reaches easily, and a lens takes long enough that a small battery becomes the limiting factor. Cordless earns its place here only if you are restoring lenses away from power, or if you want one tool that also does spot work on paint.
Buy the compound you would buy for paint
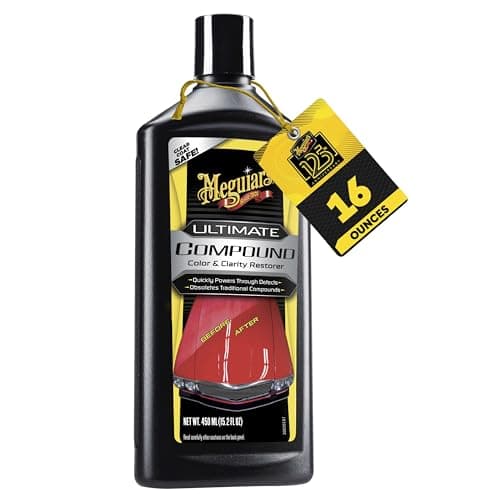
There is no meaningful chemistry difference between a headlight compound and a paint compound at this level — the abrasives that level clear coat level polycarbonate too. Products sold specifically as headlight compounds are usually ordinary compounds with different labels, and the ones bundled into cheap restoration kits are often the weakest part of the box. A mainstream compound you can buy in quantity, backed by a finer polish, covers headlights and paint from the same shelf.
Escalate deliberately, exactly as you would on paint
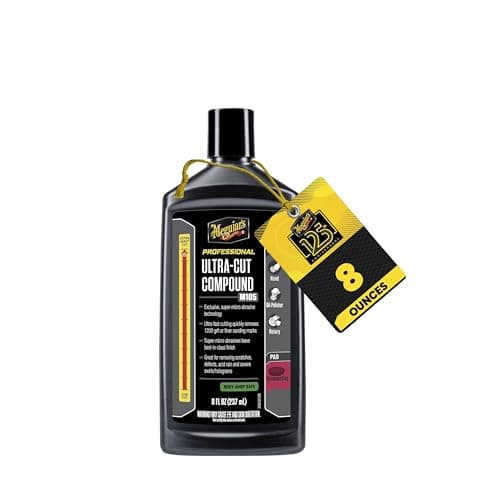
Try the milder compound on a light-cut pad first and give it a genuine chance — four or five slow passes, then wipe and look under a light. Step up to the heavy cutter only when the mild route provably has not reached the oxidation. The logic is the same as on clear coat, and it is set out at length in our rubbing compound roundup. The difference is that polycarbonate is softer than clear coat, so the escalation usually happens sooner.
Heat is the failure mode
On paint, heat is a risk. On a lens, heat is the most likely way to ruin the job. Keep the machine moving, use a moderate speed setting, keep the surface lubricated, and stop to let the lens cool if it is warm to the touch. A permanently clouded lens from heat is not recoverable by polishing — it is a new headlight.
Know when the lens is past saving
If the yellowing is inside the lens rather than on it — a cloudy film you can see from the back, moisture, or crazing that does not change when you wet the outside — no amount of polishing helps. Wet the outer face with water: if the lens goes clear while wet, the damage is on the outside and restoration will work. If it stays yellow, the damage is internal and the honest answer is a replacement housing. It is the same principle as the fingernail test on paint, covered in compounds sorted by scratch depth: level what you can reach, and be honest about what you cannot.