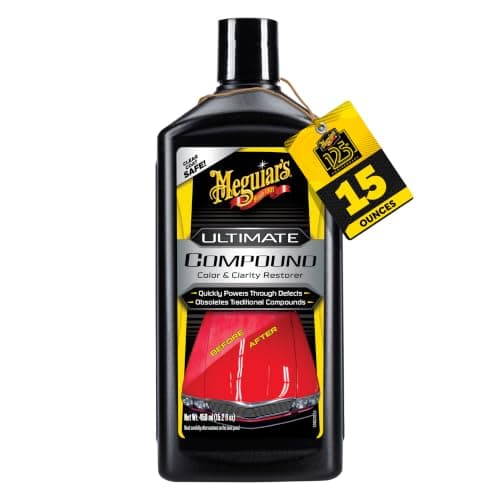
A cut and polish is a process, not a product. It is the name detailers and body shops give to a two-stage job: an abrasive compound removes a controlled layer of clear coat to level a defect out (the cut), and then a much finer liquid refines the surface that leaves behind (the polish). When a shop quotes you for a cut and polish, those two stages are what you are paying for. When you buy the products to do one at home, you are buying at least two liquids, not one bottle with both words on the label.
The phrase itself travels. It is the standard term in Australia, the UK and New Zealand; American shops more often sell the identical work as paint correction, a two-step polish, or simply "buffing." None of those names changes the mechanism. Paint gets glossier because material comes off it, and the entire skill of the job is taking off the least amount that gets the defect out.
What each stage actually does
The cut. Clear coat is a hard, transparent layer sitting on top of your color. A swirl mark is a scratch in that layer, and light bouncing off its walls at odd angles is what your eye reads as haze or a spiderweb pattern under the sun. Nothing fills that scratch back in. A compound removes clear coat from the surface around the scratch until the surface is level with the bottom of it, and at that point the defect has nowhere left to catch light. That is the cut, and it is subtractive and permanent.
The polish. Every abrasive leaves its own signature. After a cutting pass the paint is corrected but marked at a much finer scale — on a dark car that shows up as a faint, uniform cloudiness that only appears under direct sun or a hard LED. A polishing liquid on a softer pad removes that signature by taking off a very small additional amount of clear coat, and what is left reflects coherently. The gloss people are actually paying for is almost entirely the second stage.
Run them the other way around and the compound pass simply erases the polish work you just did. Run only the cut and you keep the haze. That ordering is not a preference, it is a consequence of the mechanism, and it is laid out in more detail in polish or compound first.
What a cut and polish will and will not fix
This is where most of the disappointment comes from, and it splits cleanly along one line: damage inside the clear coat can be leveled out, and damage through it cannot.
| Damage | Cut and polish? | Why |
|---|
| Wash swirls and buffer marring | Yes | Shallow scratches well inside the clear coat |
| Scratches your fingernail glides over | Yes | The nail test says the scratch has not reached base coat |
| Light water-spot etching | Usually | Mineral etch that has bitten into the clear, not through it |
| Oxidation and chalky dullness | Often | A degraded top layer that can be cut back to live paint |
| Rotary holograms | Yes | Exactly the defect the polish stage exists to remove |
| Scratches your fingernail catches in | No | Already through the clear; cutting only thins what is left around it |
| Stone chips | No | Material is missing, and abrasives cannot put material back |
| Dents and creases | No | A panel problem, not a paint problem |
| Peeling or delaminating clear coat | No | Compounding accelerates the failure; the panel needs refinishing |
The fingernail test settles most arguments in about five seconds, and it is worth doing before you buy anything at all. If the nail catches, no compound on this page or any other will fix that mark — our compound picks sorted by scratch depth are blunt about where that line sits.
Do you actually need both stages?
Honestly, often not. A full cut and polish is the right answer for paint that has been neglected, for dark paint where every stage of the process is visible, and for any car headed under a ceramic coating — a coating locks in whatever is underneath it for years, so the surface has to be right first. For an ordinary daily driver with light wash swirls, a single pass with a one-step product removes the defects you can see and finishes glossy enough that a separate polish stage adds very little.
Here is the split that holds up in practice.
- Light-colored paint, light swirls, no coating planned. One stage. A one-step product on a light-cut pad is the whole job.
- Dark paint, any real correction. Two stages. The haze a cutting pass leaves is visible from across a parking lot on black and dark metallic finishes.
- Anything going under a ceramic coating. Two stages, and a panel wipe after them. See how to polish a car before a ceramic coating.
- Genuinely neglected paint, oxidation or refinish sanding marks. Two stages minimum, sometimes three — a heavy cut, a medium polish, then a finishing polish.
The pattern behind all four: buy for the defects in front of you rather than for a theoretical full correction. Every extra cutting pass costs clear coat you do not get back.
How long a cut and polish takes
Longer than almost anyone expects the first time. The polishing itself is only part of it. The car has to be washed, decontaminated and dried before a machine touches it, because dragging a piece of embedded grit around under a pad puts in worse scratches than the ones you came to remove. Then each stage is worked panel by panel in overlapping passes, with a pad change every couple of panels.
A realistic first attempt on a mid-size sedan is a full weekend day for a single stage and most of two days for a genuine two-stage job, prep included. Experienced hands are much faster, but not because they skip anything — they are faster at reading a test spot, and they stop chasing defects that are not worth the clear coat. The full sequence, in order, is written out in how to polish a car, step by step.
What it costs, DIY versus a shop
We do not publish a dollar figure for professional work, because a cut and polish is quoted on condition, vehicle size, paint hardness and how many stages the car needs, and any single number would be wrong for most readers. What we can tell you is what the quote is built from, so you can read one:
- Labor hours, which dominate. Prep, taping, the correction stages themselves and the wipe-downs between them. A two-stage job on a large vehicle is several times the labor of a one-stage on a compact.
- The number of stages. A "one-step enhancement" and a "two-stage correction" are different products on a price list even though both get called a cut and polish in conversation.
- Consumables. Compound, polish and a genuinely surprising number of pads — the item first-timers under-buy most often.
- Whatever goes on afterward. A wax, a sealant or a ceramic coating is usually quoted separately, and the coating is often the larger line of the two.
The DIY side is easier to reason about, because it is a one-time tool purchase plus consumables. The machine is the big line and it is reusable forever; the liquids on this page are the small line. Our DIY versus shop cost breakdown works that comparison through properly, and the best polisher for the money covers the tool end of it. Live prices for every product below come from the retailer and carry an "as of" date — where we have no verified price we show none rather than a stale one.
How often you can do it
Not often, and that is the single most useful thing to know before you start. Factory clear coat is measured in microns and every cutting pass spends some of it permanently. There is no universal count of how many corrections a panel will survive — it varies by manufacturer, by panel, and by whether the panel has ever been repainted — which is exactly why we refuse to publish one.
The practical discipline is the same either way: cut only when there is a defect worth removing, cut with the mildest combination that actually works, and protect the result so the swirls do not come straight back. A wax, sealant or coating does not stop scratches, but a maintained protective layer plus a two-bucket wash is what keeps a corrected car from needing correcting again next year. Will rubbing compound damage clear coat puts honest limits around this.
The terms you will see next to it
One-step or one-stage. A single product with a moderate abrasive and finishing polymers, run in a single pass. Less correction, roughly half the time.
Two-step, two-stage, cut and polish. A dedicated compound pass followed by a dedicated polish pass. More correction, better gloss, double the time and double the products.
Three-stage. Heavy cut, then a medium polish, then a finishing polish. Reserved for neglected or freshly refinished paint.
Paint correction. The American name for the same work, usually quoted by the percentage of defects removed rather than by the number of stages.
Buffing. Casual and imprecise — it can mean any of the above, or just machine-applying a wax. Ask which stages are included before you accept a quote for it.
If the distinction between the two liquids is what is still unclear, polish vs compound takes it apart product by product.
Buying for a cut and polish
Start with the least cut that could plausibly work
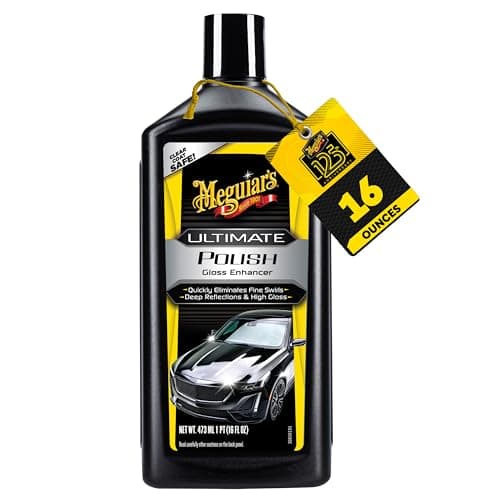
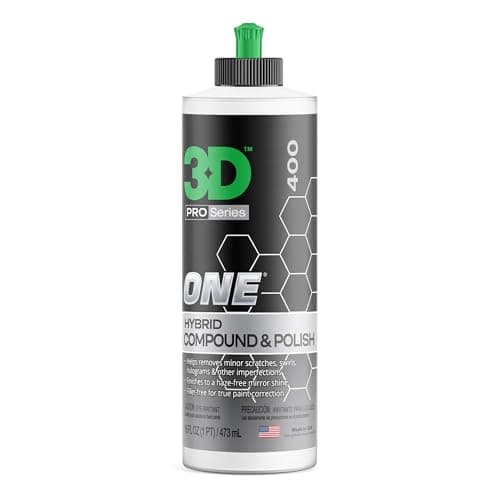
The most common buying mistake is reaching for the heaviest compound on the shelf "to be safe." It is backwards. A heavy compound removes more clear coat than ordinary swirls require, generates more heat, and still leaves a haze that needs a polish stage to clear. Start with a mild compound or a one-step, test-spot it, and escalate only when you have proven on a real panel that it cannot get there. That is the whole argument for picks one and three above sitting where they do.
The pad matters as much as the bottle
Cut is produced by chemistry, pad and machine working together. A heavy compound on a soft finishing pad barely corrects, and a fine polish on a cutting pad marks the paint it was supposed to refine. Practically, that means a cut and polish needs two pad grades, not one — a cutting or light-cut pad for the first stage and a polishing or finishing pad for the second. Which grade does what is set out in polishing vs finishing pads, and our pad picks for a dual-action cover the shortlist.
Buy several of the cheap thing, not one of the expensive thing
A saturated pad stops cutting long before it wears out, and a pad loaded with spent compound is the most common reason a good compound gets blamed for a bad result. Plan on a fresh pad every two panels or so on the cutting stage. Three or four cutting pads and two or three finishing pads for a sedan is a more effective spend than one premium pad of each grade.
The machine sets the ceiling
A cutting compound needs a machine that holds pad speed once you lean on it. A budget dual-action that bogs down under pressure turns the compound stage into an expensive way of spreading liquid around, which is why so many first corrections stall. The dual-action shortlist is ranked on exactly that. You can do the polish stage by hand and get a real result; you cannot do a meaningful cut stage by hand on modern clear coat.
Size the bottles to the job
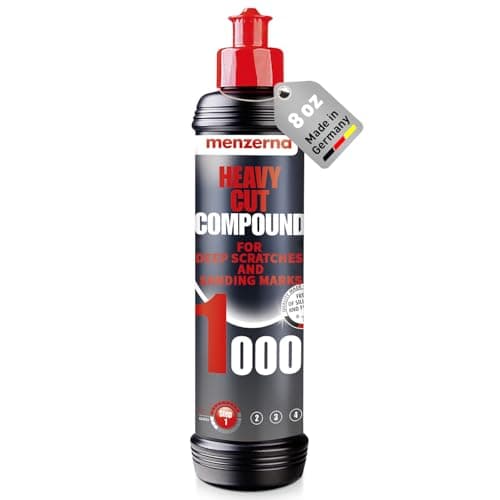
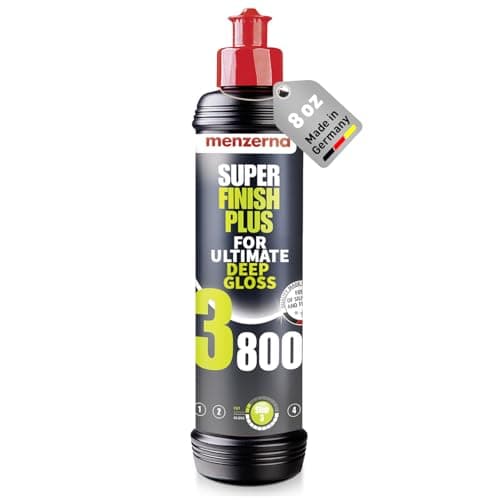
An 8 oz bottle of a professional compound is plenty for a test panel or a spot repair and thin for a whole car in two stages. Consumer 15 to 16 oz bottles are the sensible default for a first full correction. Buy the small professional bottle when you are still testing whether you need that much cut, and the large one only once you know.
Do the wipe-down before you decide it worked
Polishing oils temporarily fill and hide what is left, so a panel always looks better immediately after a pass than it really is. Wipe the panel down with a dedicated panel wipe or a diluted isopropyl alcohol solution and re-inspect under a strong light before moving on. Filler-free products — both Menzerna picks above are silicone-free — make this check less dramatic, because there was nothing hiding anything in the first place. Our panel wipe picks and paint inspection lights are the two items that make the check honest.
Protect it, or you will be back here
Freshly corrected clear coat is the most vulnerable it will ever be. Whatever you put on afterward — a wax, a sealant or a coating — the point is that the next year of washing does not undo an afternoon of cutting. That last step is covered in our wax picks and, if you want the multi-year version, in the ceramic coating shortlist.