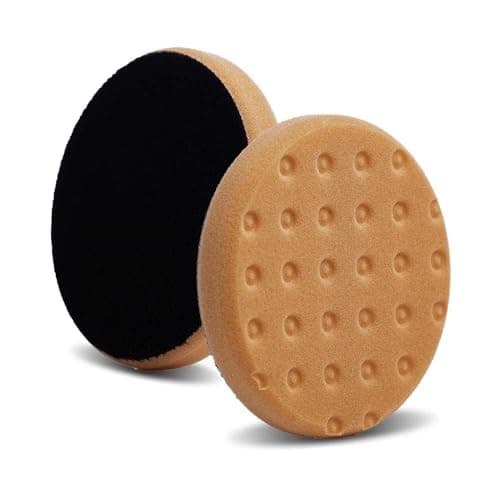
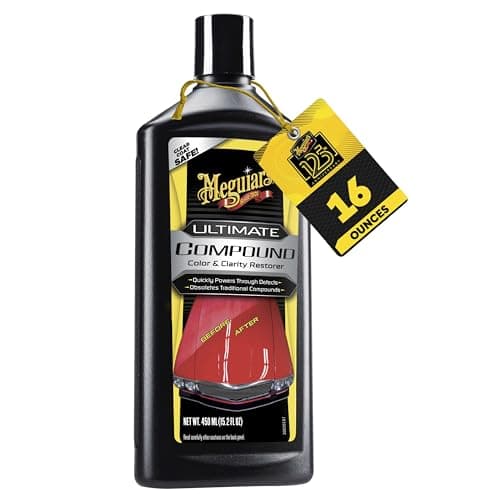
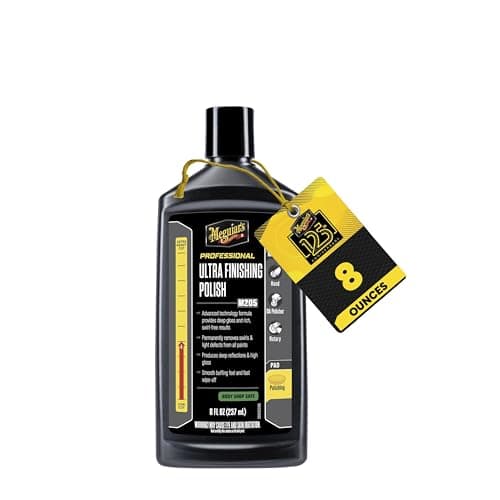
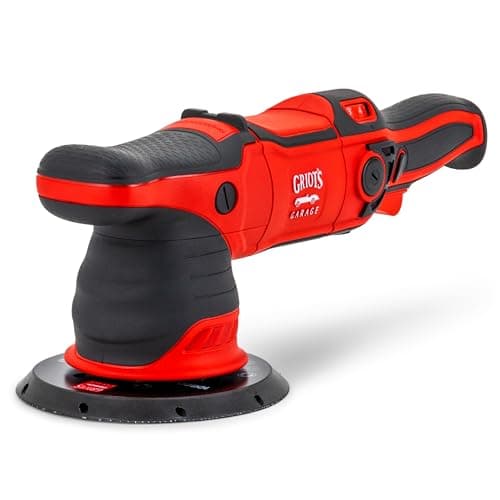
A dual-action polisher is the safest machine you can put on paint, and the single reason is that its pad both spins and orbits — so if you press too hard, the orbit stalls and the cutting stops instead of accelerating. That is the whole safety mechanism, and it is why almost anyone can learn this in an afternoon. For a first machine the Griot's Garage G9 is the one we would hand a beginner: a smooth 9 mm orbit, a motor strong enough that it does not wobble under pressure, and a lifetime warranty. Put a Lake Country CCS 5.5-inch foam pad on it with Meguiar's Ultimate Compound and you have a complete, forgiving first setup.
What follows is the operating technique. If you want the whole-car sequence — wash, decontaminate, tape, correct, protect — that lives in how to polish a car, step by step. This page is about the machine in your hands.
How a DA actually cuts
The backing plate is driven in a circle, and the pad is free to rotate on its own spindle. The result is a wandering, overlapping path rather than a fixed rotation, which spreads heat over a wide area instead of concentrating it in one spot. Two consequences follow from that and they explain most of the technique on this page.
First, a DA cuts by time on the panel, not by force. The abrasives need to be worked until they break down, and that takes passes. Second, the pad's rotation is what does the cutting, so anything that stops the pad rotating — too much pressure, an edge, a curved panel — stops the correction dead. A piece of tape stuck to the pad edge is the free way to watch for this: if the mark stops moving, the pad has stalled.
Settings, in one table
| Stage | Speed dial | Pressure | Arm speed |
|---|
| Spreading the product | 1-2 | Machine weight only | Quick, one lap of the section |
| Correcting (cut) | 4-5 | Light to moderate, about 10-15 lb total | About one inch per second |
| Refining (polish) | 3-4 | Machine weight plus a little | Slightly faster than the cutting pass |
| Applying wax or sealant | 2-3 | Machine weight only | Fast and even |
Arm speed is the number people get most wrong. One inch per second feels absurdly slow the first time and it is the single biggest difference between a pass that corrects and a pass that just spreads compound around.
A section pass, start to finish
- Prime the pad. A dry pad wastes its first pass; the method is in how to prime a polishing pad.
- Work a 2 ft x 2 ft section. Not a whole door. A section small enough that the compound stays workable for the whole pass.
- Set the pad flat on the paint before you switch on. Starting the machine in the air throws product across the garage.
- Spread at speed 1-2, one quick lap, until the section carries a thin even film.
- Raise to speed 4-5 and make four to six overlapping passes — across, then up and down, with each pass covering half the previous one.
- Watch the product, not the clock. The compound starts opaque and goes clear or nearly clear as the abrasives break down. That is the pass finishing.
- Drop to speed 1, lift off, switch off on the panel. Buff the residue with a clean microfiber and inspect under a strong light.
The four mistakes that waste an afternoon
Leaning on it. Pressure stalls the orbit, and a stalled DA is a slow polisher with the pad rotating barely at all. If the pad is not turning, you are not cutting. Back off until it spins again.
Moving too fast. Sweeping the machine across a panel at walking pace spreads product and corrects nothing. Slow the arm down before you reach for a more aggressive compound.
Too much product. A flooded pad hydroplanes, slings compound and never lets the abrasives break down. One pea-sized dot per section after the prime is the dose.
Skipping the refining pass. Every cutting pass leaves a haze of its own. On silver you may never see it; on black it is the difference between a polished car and a finished one, which is the argument in polishing vs finishing pads.
Edges, curves and the panels that catch people out
A DA needs the pad flat. On a bumper curve, a mirror cap or a sharp body line, only part of the pad contacts paint, the orbit stalls, and the edge of the pad does the work — which is both ineffective and the one place a DA can genuinely mark paint. The fix is a smaller pad and a smaller machine for those areas rather than a technique change; that field is ranked in best mini polisher. Tape off adjacent trim before you start, because compound dust in a textured plastic grain is far harder to remove than it is to prevent.
What a first DA setup actually needs
The machine
Any 8-9 mm corded DA with a variable-speed dial will do this job. Orbit size changes the pace rather than the outcome — a 15 mm or 21 mm machine covers a panel faster and is slightly harder to control on curves, which is the trade-off worked through in long throw vs short throw. The field itself is ranked in best dual-action polisher.
Pads: two grades, several of each
A cutting pad and a finishing pad, three or four of each, beats one pad of five grades. Pads saturate long before they wear out, and a saturated pad stops cutting evenly — so spares are the purchase that keeps a correction moving.
Liquids: one compound, one polish
A clear-coat-safe compound for the cutting pass and a finishing polish for the refining pass. That is genuinely all a first correction needs; M205-class finishing polishes exist specifically to clear the haze a cutting compound leaves, and the pairing is why both bottles are in the pick list above.
A light, eventually
You cannot judge a pass under a garage fluorescent. A phone torch held at a low angle works for a first attempt; a proper inspection light is the upgrade that makes the refining pass meaningful, and the detailing light picks cover that field.
What you do not need
A rotary, a paint depth gauge, or a third compound. A rotary is a different machine with a different risk profile — dual-action vs rotary explains why it is not the next purchase for most people.