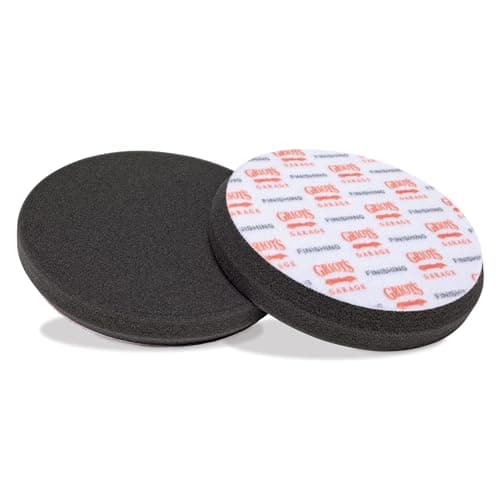
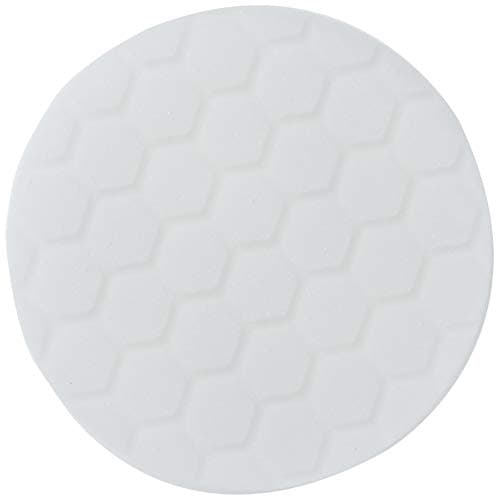
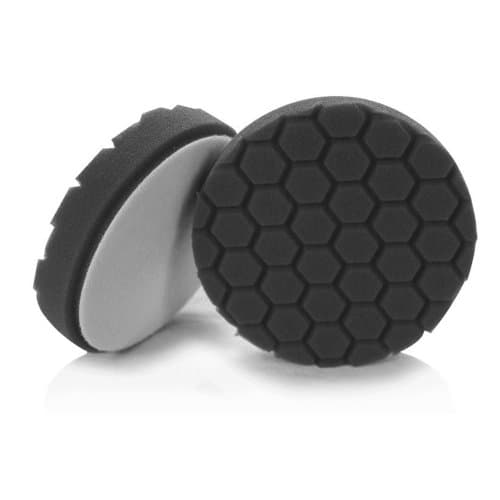
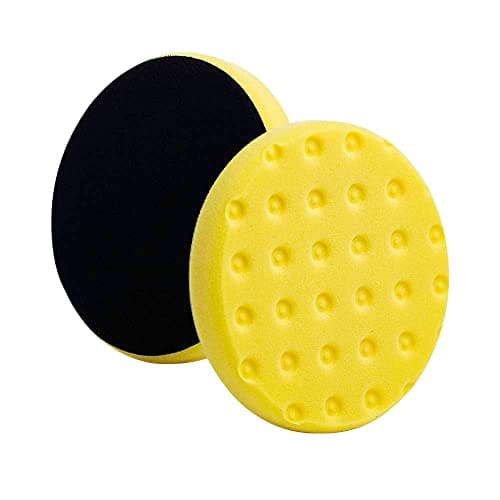
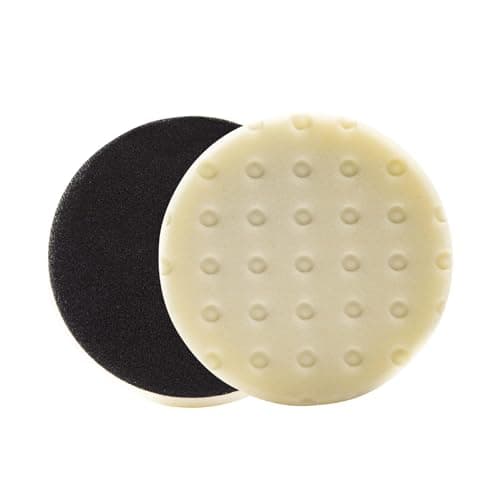
Both pads are foam. Both are soft. Both go on the machine after the cutting pad has done the heavy work, and most brands sell them in near-identical packaging a shelf apart. The difference is that one of them still removes a small amount of paint and the other one, for practical purposes, does not.
A polishing pad is a light-cut pad. It has enough bite to clear the haze a cutting pad leaves behind, with enough left over to lift light swirls, water spots and the fine marring a tired wash mitt puts into a daily driver. A finishing pad has essentially no cut of its own. Its job is to carry a fine polish, a glaze, a sealant or a wax across the paint without introducing a single new mark, which is exactly what a pad with any real abrasive character would do.
Getting them the other way around produces two very specific complaints. Use a finishing pad where a polishing pad belonged, and the compounding haze never fully clears — the panel looks better in the shade and still hazy under a light. Use a polishing pad as your last step on soft black paint, and you spend the pass adding the faint swirl pattern you just spent an hour removing.
The difference in one table
| | Polishing pad | Finishing pad |
|---|
| Cut level | Light — removes a small, controlled amount | None to speak of |
| What it clears | Compounding haze, light swirls, water spotting, wash marring | Nothing. It refines what is already there |
| Foam | Medium density, some structure under your hand | Soft, open, plush — it collapses easily under pressure |
| Liquid it pairs with | A fine polish or a swirl remover | A finishing polish, glaze, sealant or wax |
| Usual color | White, or a light mid-tone | Black, gray, blue, red or gold — brand dependent |
| Where it sits | Second pass, after cutting | Last pass, before protection |
The color column is a convention, not a rule — every manufacturer assigns its own colors to its own cut levels, which is why our polishing pad color guide exists and why the honest habit is to read a pad's stated cut rating rather than trusting a shade.
What a polishing pad actually does
Every cutting pass leaves a signature. Abrasives break down as they work, but the pass still finishes with the paint marked at a much finer scale than it started — on a dark car, that shows up as a faint, uniform cloudiness that only appears under direct sun or a hard LED. A polishing pad and a fine polish are the tools that remove it, and they remove it by taking off a very small additional amount of clear coat rather than by hiding it.
That last point is the reason a polishing pad counts as a correcting tool and a finishing pad does not. Anything with cut consumes clear coat, and clear coat is finite. It is also why a polishing pad is genuinely useful on its own: on a car that has never been compounded and only carries light wash swirls, a polishing pad with a mild polish is often the whole correction. You do not need the cutting step at all, and you should not reach for it if you do not need it — that logic is laid out in full in polish vs compound.
The trade-off is that a polishing pad cannot leave the very best finish a paint surface is capable of. It is close, and on silver or white paint most people will never see the difference. On black, deep blue and dark gray, the gap between "polished" and "finished" is visible from across a parking lot.
What a finishing pad actually does
A finishing pad is deliberately passive. The foam is open and plush, it flexes rather than resists, and it is designed to hold the machine's energy off the paint instead of transmitting it. All the work in a finishing pass belongs to the liquid — a very fine polish that breaks down to almost nothing, or a sealant or wax that simply needs spreading evenly.
That passivity is the whole value. It is nearly impossible to damage paint with a finishing pad, which makes it the safe pad to hand a beginner, the safe pad for the panels you are nervous about, and the correct pad for applying protection by machine. It is also the pad that produces the wet, liquid-looking gloss people are actually paying for when they buy a polisher — and, per our best finishing pads roundup, the pad first timers most often leave out of the kit entirely.
Its limitation is equally absolute. A finishing pad will not remove a defect. Not a light one, not with more pressure, not with a longer pass. If a mark is still visible after your finishing pass, it was still visible before it, and the fix is to go back a grade rather than to keep working the same pad harder.
Why the two names cause so much confusion
Three separate things are happening at once, and all three push in the same unhelpful direction.
"Polishing pad" is also a catch-all. The phrase describes both a specific cut grade and, loosely, any pad that goes on a polisher. A listing titled "polishing pads" may be a variety pack spanning cutting to finishing, and our own best polishing pads for a DA page uses the term in that broad sense. Read the individual pad's grade, not the headline.
Color scales do not agree. White is the common polishing color and black the common finishing color, but plenty of lines use gray, blue, red or gold for finishing, and some brands put a light-cut pad in a color another brand reserves for compounding.
Some pads genuinely straddle the line. A few pads are marketed as "polishing and finishing," and a few microfiber finishing discs really do carry a trace of cut. Those products are not lying — they sit between the grades on purpose. It just means the label alone will not tell you which job it is best at.
Do you actually need both?
Honestly: not always. Here is the split that holds up in practice.
- Light-colored paint, light defects, one-step correction. A polishing pad alone is usually enough. The finish it leaves is very good and the haze it leaves is invisible on silver, white and most metallics.
- Dark paint, any real correction. Both, without much argument. Dark clear coat shows every stage of the process, and the finishing pass is where the gloss comes from.
- You compounded the car. Both. A cutting pass needs refining, and asking one pad to both refine and finish means it does one of them badly.
- You only ever apply sealant or wax by machine. A finishing pad alone. A polishing pad has more cut than a protection step needs.
The pattern behind all four: buy for the job in front of you, not for a theoretical full three-stage correction. Most home kits are better served by two well-chosen grades and several pads of each than by one of everything and no spares — a point our guide to replacing polishing pads makes from the durability side.
Telling them apart in your hand
If a pad has lost its label, or you inherited a mixed drawer, two checks settle it in a few seconds.
Squeeze the face. A finishing pad collapses easily and springs back slowly and softly. A polishing pad resists your thumb noticeably and returns with more snap. A cutting pad feels stiff and dense by comparison, closer to a firm sponge than a cushion.
Look at the cell structure. Finishing foam is visibly open and airy with large, irregular cells. Polishing foam is finer and tighter. It is not a precise measurement, but held side by side the difference is obvious, and it will keep you from loading a compound onto the wrong pad — which, as our foam cutting pad picks note, is the single most common reason a compound gets blamed for a pad problem.
Building a kit around the two grades
The minimum honest kit
Two grades and a spare of each. If you are correcting, that is a cutting pad and a polishing pad. If you are refining and protecting, that is a polishing pad and a finishing pad. Three grades is the complete set and worth owning eventually, but two grades with spares beats three grades with one pad each every time — a saturated pad stops performing long before it wears out.
How many of each
Plan on a fresh pad every two panels for cutting and polishing work, and every three or four for finishing, because a finishing pad picks up far less spent product. For a typical sedan that means three or four polishing pads and two or three finishing pads to get through a car without stopping to wash. Buying the cheap Hex-Logic foams in quantity is a more effective spend than buying one premium pad of each grade.
Match the liquid before you match the pad
The pad and the liquid work as a pair, and the liquid sets the ceiling. A fine polish on a polishing pad refines. The same fine polish on a finishing pad mostly just spreads. A heavy compound on a finishing pad is the worst combination available: the foam cannot generate the friction the abrasives need to break down, so you get haze without correction. Our polishing compound picks list the cut level each product is designed to pair with.
The passes are not run the same way
A polishing pass is worked like a correction pass: moderate speed, light and even pressure, slow arm movement, and you keep going until the polish goes clear. A finishing pass is faster over the panel, lighter still, and often at a lower machine speed — you are spreading and refining, not removing, and leaning on a finishing pad only flattens the foam and traps heat. Where each pass sits in the full sequence is covered in how to polish a car, step by step.
Keep the grades physically separate
A polishing pad that has picked up compound residue from a shared bag is a cutting pad with a soft face, and it will mark paint you thought you were finishing. Wash pads by grade, dry them fully, and store finishing pads apart from everything else. It is a two-minute habit that protects the one pass where a mistake is most visible.
When you can skip one
Skip the polishing pad when the paint has no defects at all and you are only laying down protection. Skip the finishing pad when the car is light-colored, the correction was mild, and the polishing pass already looks clean under a strong light. On black paint, or after any compounding step, skipping the finishing pad is the decision you will see every time you walk past the car.