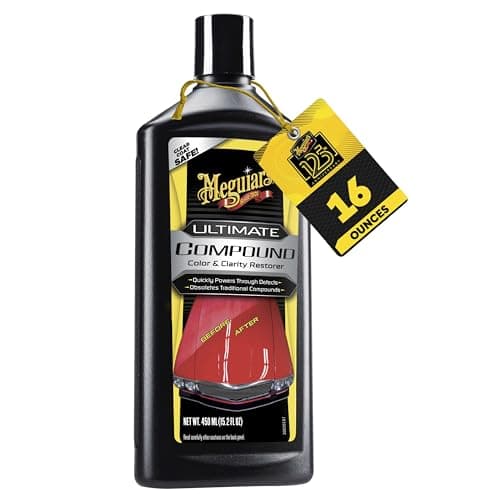
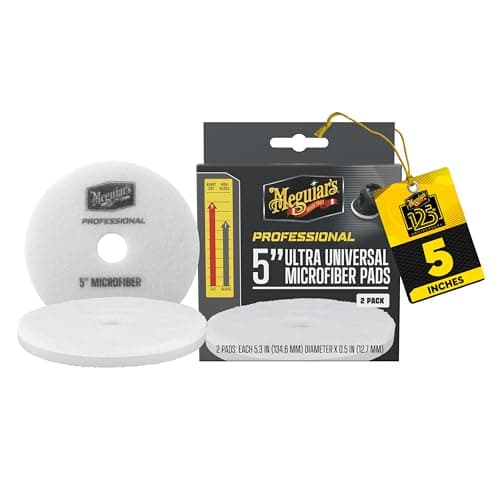
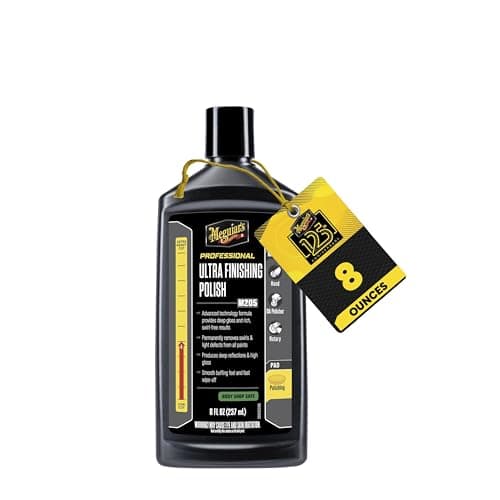
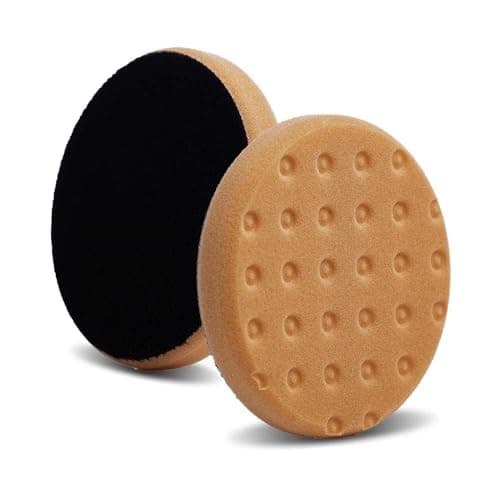
Priming means working a thin, even film of compound into the whole face of a dry pad before the pad ever touches paint. Do it and the first section you polish cuts like the fourth one. Skip it and the pad spends its first pass dragging across the clear coat, removing almost nothing, while you add pressure to compensate — which is how a perfectly good pad and a perfectly good compound both get blamed for a result neither of them caused. If you are buying one pad and one liquid to learn this on, the Lake Country CCS 5.5-inch foam pads with Meguiar's Ultimate Compound is the combination that behaves most predictably, because the dimpled foam meters product instead of soaking it flat.
Priming is not the same thing as the product you apply for each section pass. Priming happens once per pad, before the job. Section dosing happens every pass. Confusing the two is why people either flood a pad or starve it.
What a dry pad does wrong
Foam is a sponge. A new, dry pad will pull the liquid off a panel into its own cells before the abrasives ever get worked, so the compound disappears and the pad rides on dry foam. Dry foam against clear coat is friction without lubrication: it heats fast, it can leave its own fine marring, and the abrasives you paid for never break down properly.
Microfiber behaves the same way for a different reason. The nap stands up when it is dry and the fiber tips touch paint individually — aggressive, uneven, and prone to leaving a scoured look rather than a clean cut. Primed, the fibers lie into a consistent working face.
How to prime a foam pad
- Put three or four pea-sized dots of compound on the dry pad face, spaced across the pad rather than piled in the center.
- Spread them with a clean fingertip until the whole face carries a thin, even film. You are looking for a sheen, not a layer you can see the shape of.
- Add one more small dot in the center as your working product for the first section.
- Set the machine on the panel before you start it, run one slow spreading pass at low speed, then bring it up to working speed.
That is the whole procedure. The one mistake worth naming: do not prime by squirting compound across the face and running the machine in the air. It slings product everywhere and leaves the center loaded and the edges dry.
How to prime a microfiber pad
Microfiber takes the same approach with one addition — a light mist of water or a quick detailer on the face first. The damp nap accepts the compound instead of wicking it, and the pad reaches an even working state in one spreading pass instead of three. Use less compound than you would on foam; a microfiber face holds product at the fiber tips rather than inside a cell structure, so the same dose goes further.
A universal microfiber pad is worth priming carefully for a second reason: with the same face rated both for compounding and for refining, the liquid you prime it with is what sets how aggressive the pass will be. Prime it with a cutting compound and it cuts; prime it with a finishing polish and it refines. The material trade-off behind that is covered in foam vs microfiber pads.
How much product after priming
| Stage | Foam pad | Microfiber pad |
|---|
| Priming the dry pad | 3-4 pea-sized dots, spread by hand | Light mist, then 2-3 dots, spread by hand |
| First section pass | One extra dot | One extra dot |
| Every pass after | One dot per 2 ft x 2 ft section | About half a dot — microfiber carries more over |
| Re-prime | After washing the pad, every time | After washing the pad, every time |
Signs the pad needs attention mid-job
A primed pad that has gone wrong announces itself. If the compound stops going clear and starts smearing, the pad is saturated with spent product and paint residue — clean it, dry it and re-prime, rather than adding more compound. If the machine suddenly feels grabby and the panel squeaks, the pad has dried out and needs one more dot, not more pressure.
A pad that will no longer hold a prime at all is finished as a correcting pad. The foam has glazed or the nap has matted, and how often to replace polishing pads covers how to tell that from a pad that is merely dirty.
What this changes about what you buy
Buy spares of one grade before buying one of every grade
Every pad wash means a re-prime and a drying delay, so the practical answer is more pads of the grades you actually use. Three cutting pads and three finishing pads will get you through a car without stopping; one pad of five grades will not.
Dimpled foam makes priming easier
A dimple or groove pattern gives the compound somewhere to sit instead of being absorbed flat into the cell structure, which is why CCS-style foam reaches an even working film with less product. It is a small advantage, and it shows up most on the first pad of the day.
The finishing pass is primed too
A finishing pad gets the same treatment with a finishing polish, and here the dose matters more rather than less — a flooded finishing pad hydroplanes and refines nothing. Prime thin, work slowly, and the last pass does what the finishing pad field is bought for.
Decant a priming bottle
Priming straight from the main bottle is how compound ends up on the floor. Decant a little into a small applicator bottle for priming and keep the big bottle for section dosing. It costs nothing and it prevents the most common mess in a home garage.
Where this sits in the wider sequence
Priming is the step between buying pads and starting a correction. Everything before it is wash and decontamination; everything after it is section passes and refinement, laid out in how to polish a car, step by step.