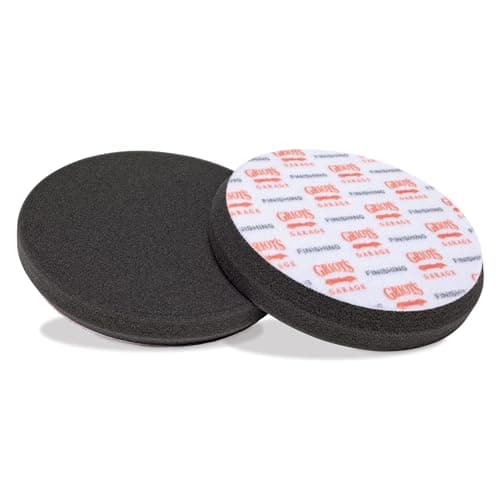
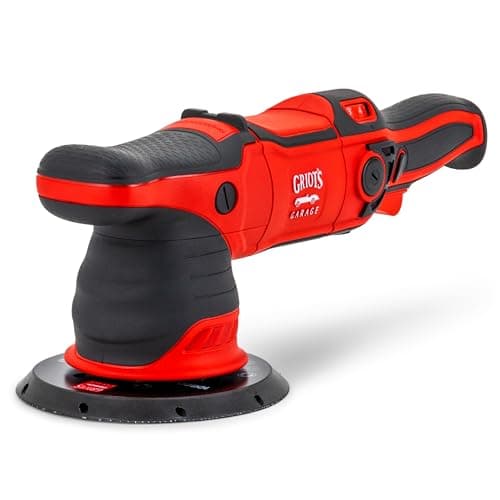
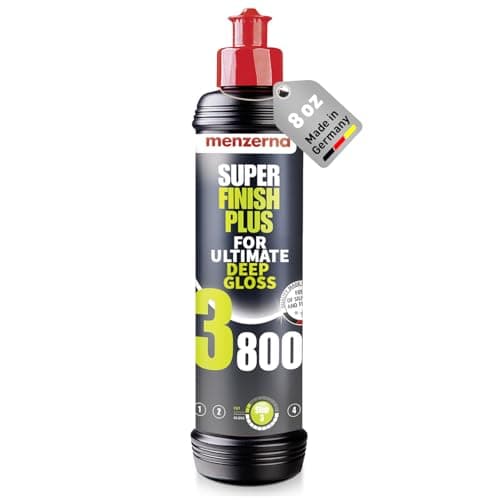
Buffer trails come out with a fine finishing polish on a soft foam pad, run on a dual-action polisher — not a rotary — and the job takes an afternoon. If you have just paid for a correction and the paint now has long, curving streaks that seem to move as you walk past it, that is what you are looking at, and it is fixable. It is also not your fault: holograms are a technique artifact of rotary polishing, and nothing you can buy in a bottle hides them for longer than a few washes.
What a buffer trail actually is
Buffer trails — also called holograms, buffer swirls or rotary marks — are directional micro-scratches left in the clear coat by a polisher spinning on a single axis.
A rotary polisher rotates its pad around one fixed centre. That means every point on the pad travels the same circular path over the paint, over and over, and whatever abrasive is on that path cuts in one consistent direction. The result is not random scratching but an organized pattern of fine parallel marks, and organized patterns do something random ones do not: they diffract light coherently. That is why holograms look three-dimensional and seem to float above or below the surface as the light angle changes, and why they are most obvious on dark paint in direct sun.
Compare that with the swirls a washing mitt leaves: random, multidirectional, and visible as a general haze of fine circles rather than a pattern with a grain. Different cause, different look, slightly different fix — our swirl mark guide covers that case.
A dual-action polisher cannot produce holograms, because its pad orbits as well as rotates and the path never repeats. That is the single most useful fact on this page: it is both why holograms happen and why the fix is a different machine. Dual-action vs random orbital explains the mechanics, and dual-action vs rotary covers the wider trade-off.
Why they appeared
Holograms come from a rotary that was doing one or more of five things. Knowing which one tells you how deep they are likely to be.
- No finishing stage. The most common cause by far. A rotary compounding pass is meant to be followed by a refining pass with a finer polish on a softer pad. Skip it and the compounding marks stay.
- A wool pad finished the job. Wool cuts hard and leaves a coarse signature. It is a compounding medium only.
- Too much speed, too much pressure, too long in one place. Heat and a dry pad make the abrasive behave far more aggressively than intended.
- A dirty or saturated pad. Dried product on a pad face is a hard abrasive of unknown grade.
- Soft paint. Some clear coats mar if you look at them sideways, and on those a rotary needs an exceptionally careful finishing pass.
The practical consequence: holograms are almost always shallow, because they were made by a finishing-grade or compounding-grade abrasive rather than by something sharp. Shallow is good news. It means the fix needs very little material removed — which matters, because every pass costs clear coat.
The fix, step by step
- Wash and dry the car properly. Any grit left on the surface becomes a new defect the moment the pad touches it.
- Panel-wipe a test area and look at it under a hard light. This is not optional. Fresh polishing oils and any glaze the detailer applied will hide the holograms completely, and you cannot fix what you cannot see. Diluted isopropyl on a clean towel is enough.
- Set up a dual-action with a soft finishing pad and a fine polish. Not a compound. The marks are shallow and the goal is to refine the surface, not to cut it.
- Prime the pad with a few small drops spread across the face, then work a two-foot section at a moderate speed setting with light pressure and slow, overlapping passes — four to six per section. Priming matters because a dry pad is what caused the problem in the first place.
- Wipe, panel-wipe again, and inspect under the light. Move the light around the section at different angles; holograms only show at some of them.
- Repeat once if they are faint but present. If two passes make no difference, step up one grade of polish rather than leaning harder — pressure is what created the pattern.
- Protect the paint when it is clear. Wax, sealant or a coating. Bare polished clear coat is unprotected clear coat.
If you have never run a machine before, how to use a dual-action polisher is the full technique page, and paint correction for beginners sets the wider context.
What does not work
Waxing over them. A wax or glaze with filling oils will make holograms almost disappear for a few weeks, which is exactly why this problem is so often discovered two months after a detail rather than on collection day. The marks are still in the clear coat; the oils have just filled the micro-texture. Every wash takes some of the fill away.
Hand polishing. You cannot generate enough consistent, even abrasion by hand to refine a surface across a whole panel, and the unevenness shows. Hand work has its place — see our hand polishing guide — but hologram removal is not it.
Another rotary pass. Unless you are confident with a rotary and a finishing-grade foam pad, this is how shallow holograms become deeper ones. If a rotary is the only machine you have, the rotary technique page covers finishing passes, but borrowing a dual-action is the better plan.
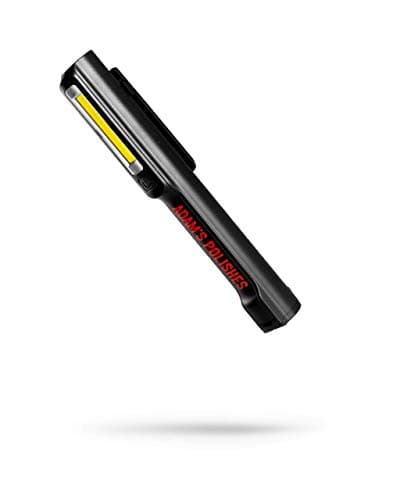
Inspecting under shop fluorescents. Diffuse overhead light is the worst possible lighting for holograms and the reason they get missed. A single hard point source — sunlight, or a focused LED inspection light — is what reveals them. Our detailing light picks cover the full field; the handheld swirl finder below is the cheap, sufficient version.
The picks are the four things the fix actually requires: a fine finishing polish, a soft finishing pad, the dual-action to run them on, and a light to see the result. Prices are read live and stamped with the date we verified them.