A ceramic coating is designed to be hard to remove. That is the product. It cross-links into a rigid, chemically bonded film on top of the clear coat, and the whole promise of paying for one is that ordinary washing, weather and time do not take it off. So the answer to "how do I remove it" follows directly from what it is: controlled abrasion. Machine polishing with an appropriate pad and compound is the reliable route. Everything else on the internet is either a partial measure or wishful thinking.
First, though, check that you actually need to. There are three reasons people end up here, and only two of them require removal.
- The coating has failed or is failing. Beading has gone, water sheets flat, the surface feels grabby rather than slick. This usually needs removal before re-coating, because a new coating applied over a dying one bonds to the dying one.
- The coating was installed badly. High spots, streaks or rainbow patches from product that was not leveled during the wipe-off window. These are cured excess sitting proud of the surface, and they have to be polished off.
- The coating just looks tired.Reduced beading and a dull feel can be a layer of bonded road film and iron fallout sitting on top of a perfectly healthy coating. Decontaminate first and re-assess — a great many "dead" coatings are just dirty ones. How to maintain a ceramic coating covers that check in full, and it costs an afternoon rather than a correction.
What does not remove a coating
Worth stating plainly, because each of these gets recommended somewhere.
- Washing, however aggressive. Strong alkaline soaps and degreasers strip waxes and sealants and will shorten a coating's life over time, but they will not take a cured coating off in an afternoon.
- Clay. Clay shears off contamination bonded on top of the surface. The coating is the surface. Claying a coated car removes fallout sitting on the coating and leaves the coating behind, which is usually what you want — just not here.
- Solvents on a rag. Isopropyl alcohol and panel wipes clean a coated surface. They do not dissolve a cured silica or graphene film, because cured is the entire point of the chemistry.
- Time. A coating degrades unevenly. Waiting gives you a patchy surface that is harder to prep than a fully intact one.
Route one: a chemical coating prep, for a failing coating
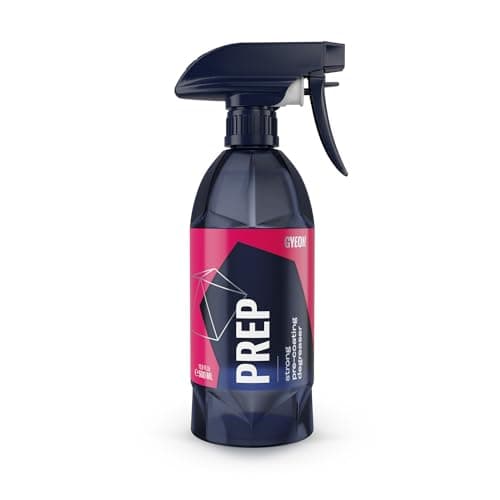
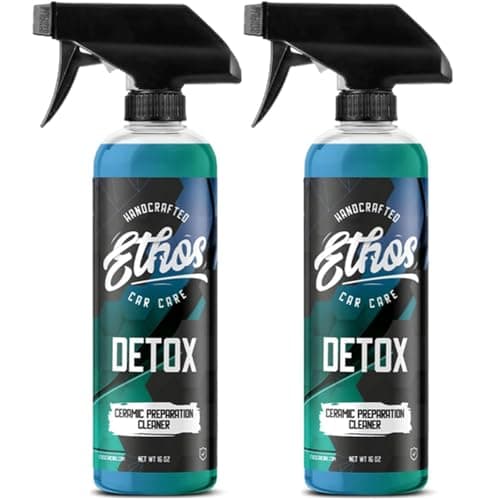
Dedicated coating-prep and strip products are genuinely useful in one situation: a coating that has already degraded. They will not lift an intact, healthy coating, but they break down a weakened one and remove the sealants, sprays and topper layers that have usually accumulated over it — which means the polish stage afterward has less to fight through. They are also the right first move if you are not sure how much coating is actually left.
Used on a healthy coating, a strip product is not wasted: it removes every topper and leaves a clean, bare coating surface, which is exactly the state you want before deciding whether the coating underneath is worth keeping. That is a cheap diagnostic step before an expensive correction.
Route two: machine polishing, which is the actual answer
The sequence is a normal paint correction, with one addition at the end.
- Wash and decontaminate. Iron remover, then clay if the surface still feels rough. Polishing over embedded grit installs scratches while you work.
- Inspect under a hard light. Decide what you are actually removing — the whole coating, or a few high spots. Removing high spots from an otherwise sound coating is a spot repair, not a full strip, and it is far less work.
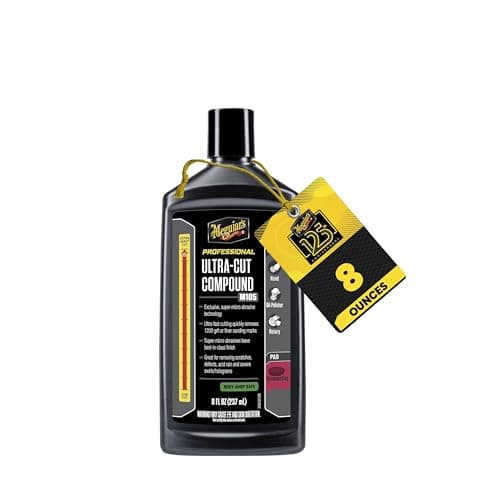
- Compound with a cutting pad. For a coating a couple of years old or less, a medium-to-heavy compound on a microfiber or foam cutting pad is enough. Expect it to feel different from ordinary correction — the pad skates for the first pass or two while it works through the coating, then starts to bite.
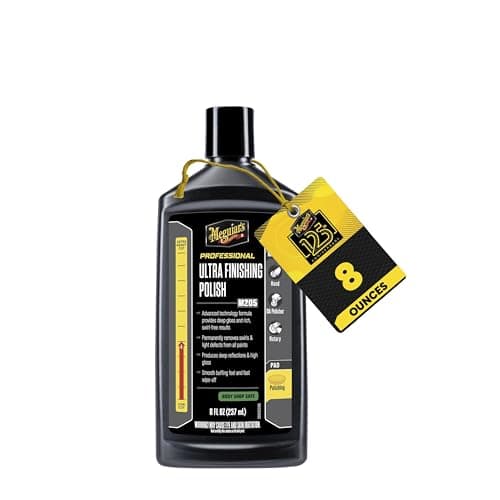
- Refine with a finishing polish. Compounding hazes by design, and a coating going back on will preserve that haze for years. This stage is not optional if you plan to re-coat.
- Panel wipe, then test. Wipe the panel down and check it with water. A surface with coating left on it still beads. Bare, freshly polished clear coat does not — water sheets and wets the surface evenly. That contrast is your proof.
Work panel by panel and confirm each one before moving on. The most common removal failure is a car that is 90% stripped, with residual coating in exactly the places a pad reaches least — edges, around badges, the bottom of doors — which then prevents the new coating from bonding there.
Before you start: is this worth doing?
Removal costs clear coat. A full strip of a hard coating is a genuine compounding pass on every panel, and that is not a free operation — the limits are set out in will rubbing compound damage clear coat. If the car is going to be re-coated anyway you were going to polish it regardless, so the marginal cost is small. If you are removing a coating because you prefer the look of a carnauba, think harder: you are spending clear coat on an aesthetic preference, and a coating-safe topper may get you most of the way there.
The other honest caveat is hardness. Professional-grade coatings are meaningfully harder to polish off than consumer sprays, and the hardest of them will take more cut and more passes than you expect — the pro-grade coating field is the group this applies to most. A ceramic spray, at the other end, largely comes off with a decontamination wash and a light polish.
Prices for everything below are live from the retailer and stamped with the date we verified them. Where we have no verified price we show none rather than a stale one.
What to buy for a coating removal
Start with the strip product, not the compound
A coating prep or strip is the cheapest step and the most informative. It clears every topper, spray and sealant off the surface so you can see what the coating underneath is actually doing, and on a degraded coating it does part of the removal work for you. Buy it first and let the result decide whether you need the compound at all.
Buy the compound and the polish together
Removing a coating with a cutting compound and then stopping leaves a hazed panel that a new coating will lock in for years. The finishing stage is part of the job, not an optional refinement, so buy both liquids at the same time. The two-stage logic is set out in what is a cut and polish.
Plan on more pads than a normal correction
Coating residue loads a pad faster than paint defects do, and a loaded pad stops cutting long before it looks used. Three or four cutting pads for a sedan is realistic, and a pad change every couple of panels keeps the cut consistent. Our microfiber cutting pad picks are the grade most people reach for here, and how to clean polishing pads is worth reading if you would rather wash and reuse than buy a stack.
The panel wipe is the verification tool
Do not skip it and do not substitute a quick detailer, which leaves polymers behind and will make bare paint bead as though the coating were still there. A dedicated panel wipe removes polishing oils and leaves nothing, which is what makes the water test honest and what the new coating needs in order to bond. Our panel wipe picks cover the field.
Do not re-coat the same day you finish polishing
Give yourself an inspection pass in different light before committing. A coating is faithful — it preserves the surface exactly as it is on install day, including any haze or holograms you missed. The full pre-coating sequence is in how to polish a car before a ceramic coating.
Know when to hand it over
A full strip of a professional-grade coating on a dark car is one of the harder jobs an amateur can take on: a lot of cut, a lot of panels, and an unforgiving finish. If the coating was professionally installed, the installer is usually the cheapest and safest route to removing it. There is no shame in that, and it costs less than correcting a correction.