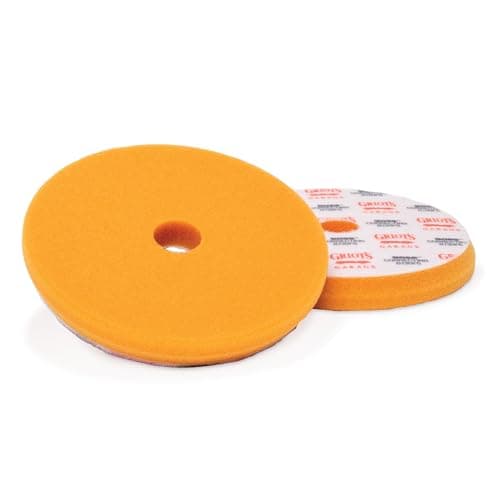
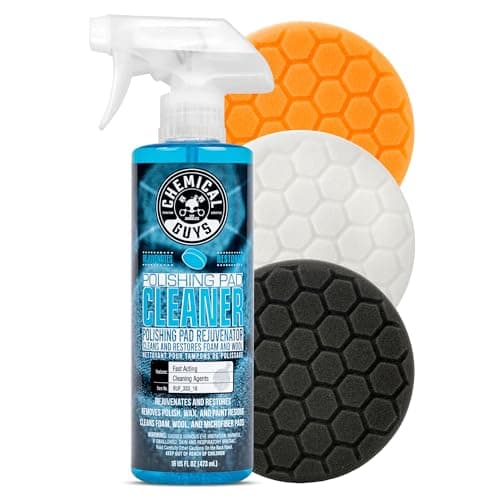
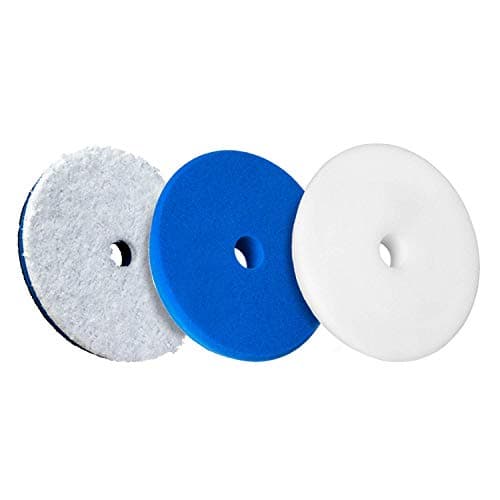
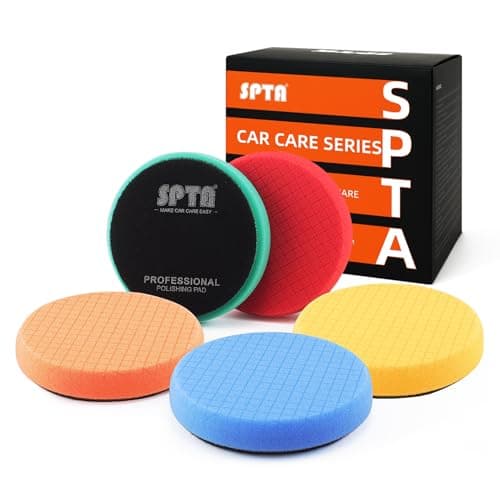
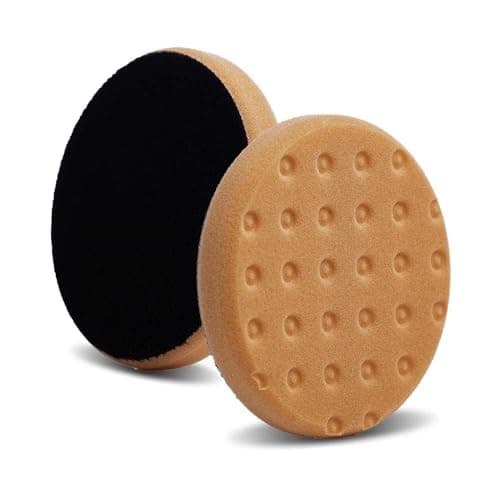
The pad is where correction actually happens. A polisher supplies motion and a compound supplies abrasive, but it is the foam pressing that abrasive into clear coat that decides how much material comes off and how the surface looks when it does. Change nothing except the pad on your machine and you can move from "removed nothing" to "removed the defect and left haze" — which is exactly why cutting pads are sold separately from finishing pads in the first place.
A cutting pad is firmer and more open-celled than a finishing pad. The firmness transmits your pressure into the paint instead of absorbing it, and the open structure both holds product and helps shed the heat that firm foam generates. That is the whole trade: more cut, more heat, and a surface that usually needs a second, softer pass to finish down properly.
Foam cutting pads versus microfiber
Microfiber cutting pads remove more per pass than foam, and for genuinely heavy defects on hard clear coat they are the faster tool. They are also less forgiving, they load up with spent product quickly, and they leave more haze behind. Foam is the default cutting medium for the same reason a dual-action is the default machine — it does most of the work with a much wider margin for error. We put the two side by side in foam vs microfiber pads if you are weighing that specific decision.
Color tells you the cut, but only within one brand
Every manufacturer color-codes its foam by aggressiveness, and every manufacturer picks different colors. Orange is a cutting pad in one line and a polishing pad in another; white can mean light cut or medium finish depending on whose bag it came out of. Read the cut level printed on the packaging, not the color, and see our polishing pad color guide for how the major brands actually map.
How many you actually need
More than you think. A pad saturated with spent compound and removed clear coat stops cutting and starts smearing, and on a full car that happens well before you are done. A realistic full correction runs through several cutting pads plus a couple of finishing pads, swapping to a clean one every panel or two. This is the strongest argument for buying a multi-pack rather than two premium pads: the pads you are missing at 4pm on a Saturday cost you more than the ones you overbought.
Pair whichever pad you choose with a compound at a matching aggressiveness — a cutting pad loaded with a finishing polish under-performs badly, and the fix is in our cutting compound roundup.
How to choose a foam cutting pad
There are only four variables that matter, and only one of them appears prominently on the packaging.
Size, and why smaller is usually right
A 5.5-inch pad on a 5-inch backing plate is the standard modern setup, and it is the right default for almost every car. Smaller pads concentrate your pressure over less area, which increases cut, and they stay flat on curved panels where a 6.5-inch pad rocks onto its edge. Bigger pads cover flat panels faster and are harder to keep flat everywhere else. Whatever you buy, the pad should overhang the backing plate by a small margin — never sit inside it, and never hang off by an inch.
Cell structure
Open-cell foam breathes, sheds heat and holds product; closed-cell foam is firmer and transmits pressure more directly. Several ranges add a surface pattern — dimples, hex cutouts, grooves — which serves two purposes: it holds product in the recesses so a single application spreads further, and it gives heat somewhere to escape. That is a real functional difference, not styling, and it is most valuable on the firmest cutting pads where heat builds fastest.
Durability
Cutting pads take the most abuse of any pad in the set: the most pressure, the most heat, the most aggressive product. What fails first is almost always the bond between foam and the hook-and-loop backing, and that failure is abrupt — the foam simply comes off the plate mid-panel. Cheaper pads fail sooner, which is fine if you are treating them as consumables and a genuine problem if you expected them to last a season.
How cleanly it finishes
Every cutting pad leaves some haze. The question is how much, because that determines whether you need one follow-up pass with a finishing pad or two. A pad that cuts hard and finishes filthy is not a bargain if it adds an hour of polishing on the back end. The picks below are ranked with that in mind rather than on raw removal alone.
Looking after them
Clean the pad on the machine every panel with a brush or compressed air, wash them by hand or on a gentle cycle when you are done, and let them air dry flat rather than in a hot dryer that will cook the adhesive. A pad that is cleaned as you go cuts consistently from the first panel to the last; a clogged one just polishes its own residue. There is a full routine in how to clean polishing pads.
The common mistake
Reaching for the most aggressive pad first. Correction is subtractive — every pass removes clear coat you never get back, and modern factory clear is thin. Start with the least aggressive pad and product combination that could plausibly work, test it on a single panel, and only step up if the defect survives. A cutting pad is the answer to a diagnosed problem, not the default starting point.