Start with a dedicated panel wipe and a microfiber towel — a solvent-based surface cleanser removes wax and sealant residue in one wipe-on, wipe-off pass with no abrasion and no risk, which is what the great majority of people asking this question actually need. Only climb the ladder from there if the wipe comes back clean and the problem persists. Nothing on this page needs a compound, and a compound is where most people start.
It is worth knowing which problem you have, because four different situations all get phrased as "how do I get the wax off" and they have four different answers: preparing paint for a coating, undoing a wax you dislike, dealing with streaks or smearing from a bad application, and getting dried white residue out of textured black plastic. The last one is the only genuinely annoying case, and it is the one with the least written about it.
The ladder, gentlest first
1. A strong soap wash. Most car shampoos are deliberately pH-neutral and wax-safe, because the normal job of a maintenance wash is to clean a car without stripping its protection — which is exactly why reaching for your usual soap to remove wax does nothing. A traditional degreasing dish detergent will take a soft carnauba off, and it is the method most often recommended online. It is also the one we rank last by preference: it strips protection unselectively, it dries out rubber and plastic trim with repeated use, and it still will not touch a cured synthetic sealant. If the wax you are removing is weeks old and soft, it works. If it is a polymer-heavy paste like Collinite's 476S, it will not.
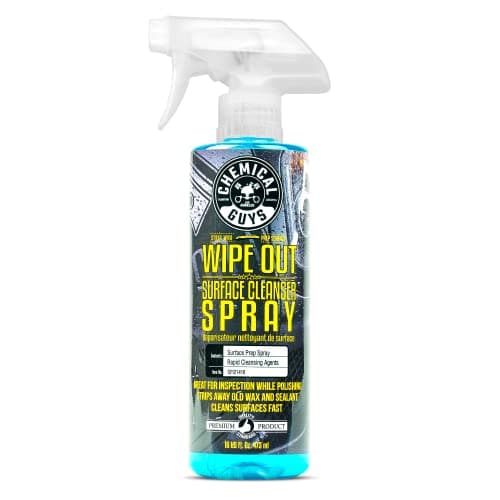
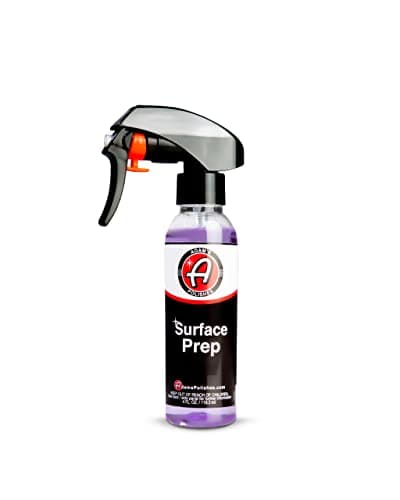
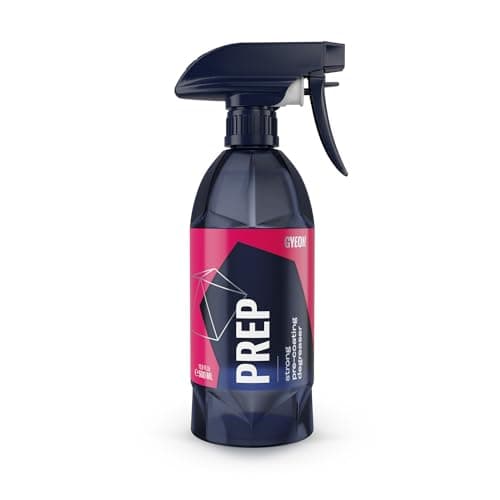
2. A panel wipe or surface cleanser. The right tool, and the one the industry actually uses. These are solvent blends formulated to dissolve waxes, sealant residue and polishing oils and then flash off leaving nothing behind. They remove protection in a single pass, they do not abrade the clear coat, and they tell you immediately whether you have succeeded: the panel goes from slick to slightly grabby, and water stops beading on it. An isopropyl alcohol solution at roughly 15–20% in distilled water is the home-mixed equivalent and works for most jobs, though a dedicated cleanser handles heavy sealant residue better. All three of the cleansers below are built for this step.
3. Clay or a clay alternative. Claying shears off bonded contamination and takes any remaining protection with it. Use this rung when the paint also feels rough, because then you have two jobs and one tool does both. Do not use it only to remove wax: clay is a mildly abrasive mechanical process and spending it on a job a towel could do is a waste of a consumable and a small unnecessary risk. The methods are in how to clay bar a car and clay bar alternatives.
4. An abrasive polish. The nuclear option, and the only one that removes clear coat along with the wax. It is the correct answer in exactly one situation: the paint has defects you were going to correct anyway, so stripping the wax is a free side effect of work you wanted to do. If the paint is already perfect, polishing it to remove wax means spending a permanent, finite resource to solve a problem a $15 bottle of cleanser solves — the arithmetic is in does polishing remove clear coat.
Which rung for which job
| Why you are removing it | Start at | Why |
|---|
| Prepping for a ceramic coating | Panel wipe (rung 2) | A coating must bond to clear coat, not to wax — this is mandatory |
| You applied a wax you dislike | Panel wipe (rung 2) | Dissolves it in one pass with no abrasion |
| Streaks, smears or a hazy application | Detail spray, then panel wipe | Usually just un-buffed wax, not a removal job at all |
| Paint feels rough as well as waxed | Clay (rung 3) | Two problems, one tool |
| Paint has swirls you want gone | Polish (rung 4) | The wax comes off as a by-product of work you wanted anyway |
| Dried white residue in plastic trim | Trim-specific approach, below | Solvents and towels cannot reach into the texture |
The streak case, which is usually not a removal job
Before you strip anything, check whether you actually have a wax residue problem rather than a wax removal problem. The classic symptoms — a hazy film, visible smears in direct light, patches that look dull next to patches that look glossy — are almost always un-buffed wax that was applied too thickly or left to cure too long, especially on a hot panel.
The fix is to re-wet it rather than remove it: mist a detail spray lightly onto a clean microfiber towel, work a small area, and buff it dry with a second towel. The solvent in the spray softens the cured wax enough that it wipes away cleanly. Done this way you keep the protection on the panel and just finish the job properly. Reaching for a stripper here means starting the whole wax application again for no reason.
Dried wax in black plastic trim
This is the case that brings people here, and the texture is the whole problem. Unpainted exterior plastic is moulded with a fine grain, and dried wax settles into the low points of that grain where a flat towel simply cannot reach. It shows up as a chalky white haze that looks worse when the trim is dry and seems to disappear the moment it is wet, which is why people think they have removed it and then find it again the next morning.
Three things work, in this order. A soft detailing brush with a few drops of all-purpose cleaner or soapy water, worked along the grain rather than across it, lifts residue out of the texture mechanically — this does most of the job and is the step people skip. A panel wipe on a towel afterwards removes what the brush loosened. And if a faint shadow is still visible, a dedicated trim restorer both hides the last of it and leaves the plastic darker than it started, which is usually a better outcome than the one you were chasing.
The best fix is prevention, and it costs two minutes: tape off trim edges before a hard paste wax goes anywhere near them. Collinite's own product page carries an owner review advising exactly that for 476S, and the advice generalizes to every stiff paste wax.
How to tell when the wax is actually gone
Three checks, all free. The water test: mist the panel and look. Protected paint beads water into tight domes that roll off; stripped clear coat lets it spread into a flat sheet that clings. That transition is the clearest single signal you will get. The feel test: run the back of a clean, dry hand across the panel. Waxed paint is slick and your hand glides; bare clear coat has a faint grab to it. The towel test: a clean white microfiber wiped over a panel you have just cleansed should come back clean. If it picks up a faint residue, you are not finished.
Work panel by panel and re-check, because wax removal is almost never uniform. Horizontal surfaces hold more product and more of it is bonded by sun exposure, while shaded vertical panels and the lower sections usually strip in one pass. Door jambs, around badges and the strip under a rear spoiler are where leftover wax hides.
And then protect it again
Stripped paint is bare paint. Whatever your reason for removing the wax, the panel is now at its most vulnerable, and the clock on etching and water spotting starts immediately — the same reasoning as do you wax after polishing. If the strip was preparation for a coating, apply the coating the same day. If you stripped a wax you disliked, put the replacement down before the car goes back outside. The only acceptable version of "I will do it next weekend" is a car that lives in a garage and does not move.